Calculator Review: Burroughs C3155 / Sharp QT-8D (1971)
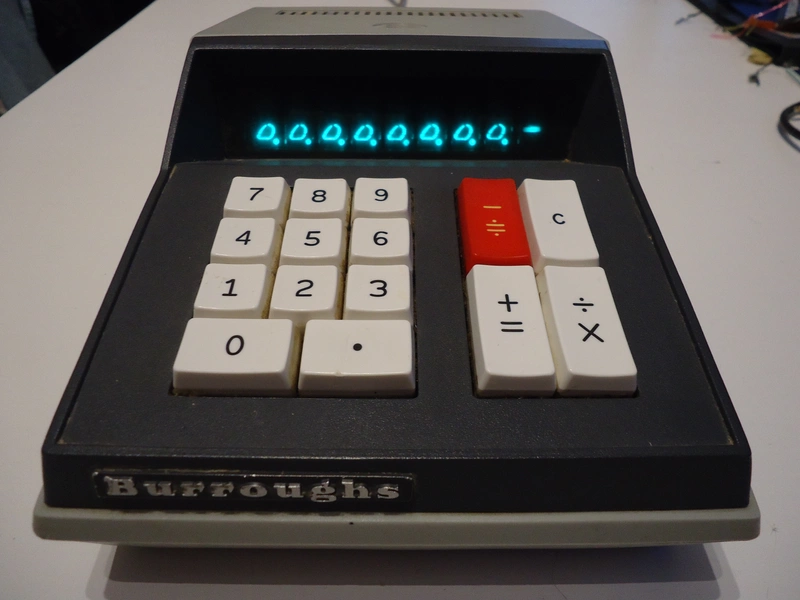
This is the Burroughs C3155:
It’s a charming old 1970s calculator rocking a VFD display and an ostensibly 1970s design. It’s also known, maybe more widely, as the Sharp QT-8D, of which it is a clone made by Burroughs for sale in the US. Both devices are pretty much identical, except for the layout of the operation keys. It was also sold in other countries under the names Facit 1115 and Addo-X 9354, and reverse-engineered in the USSR under the name Elektronika EKVM 24-71.
The Outside
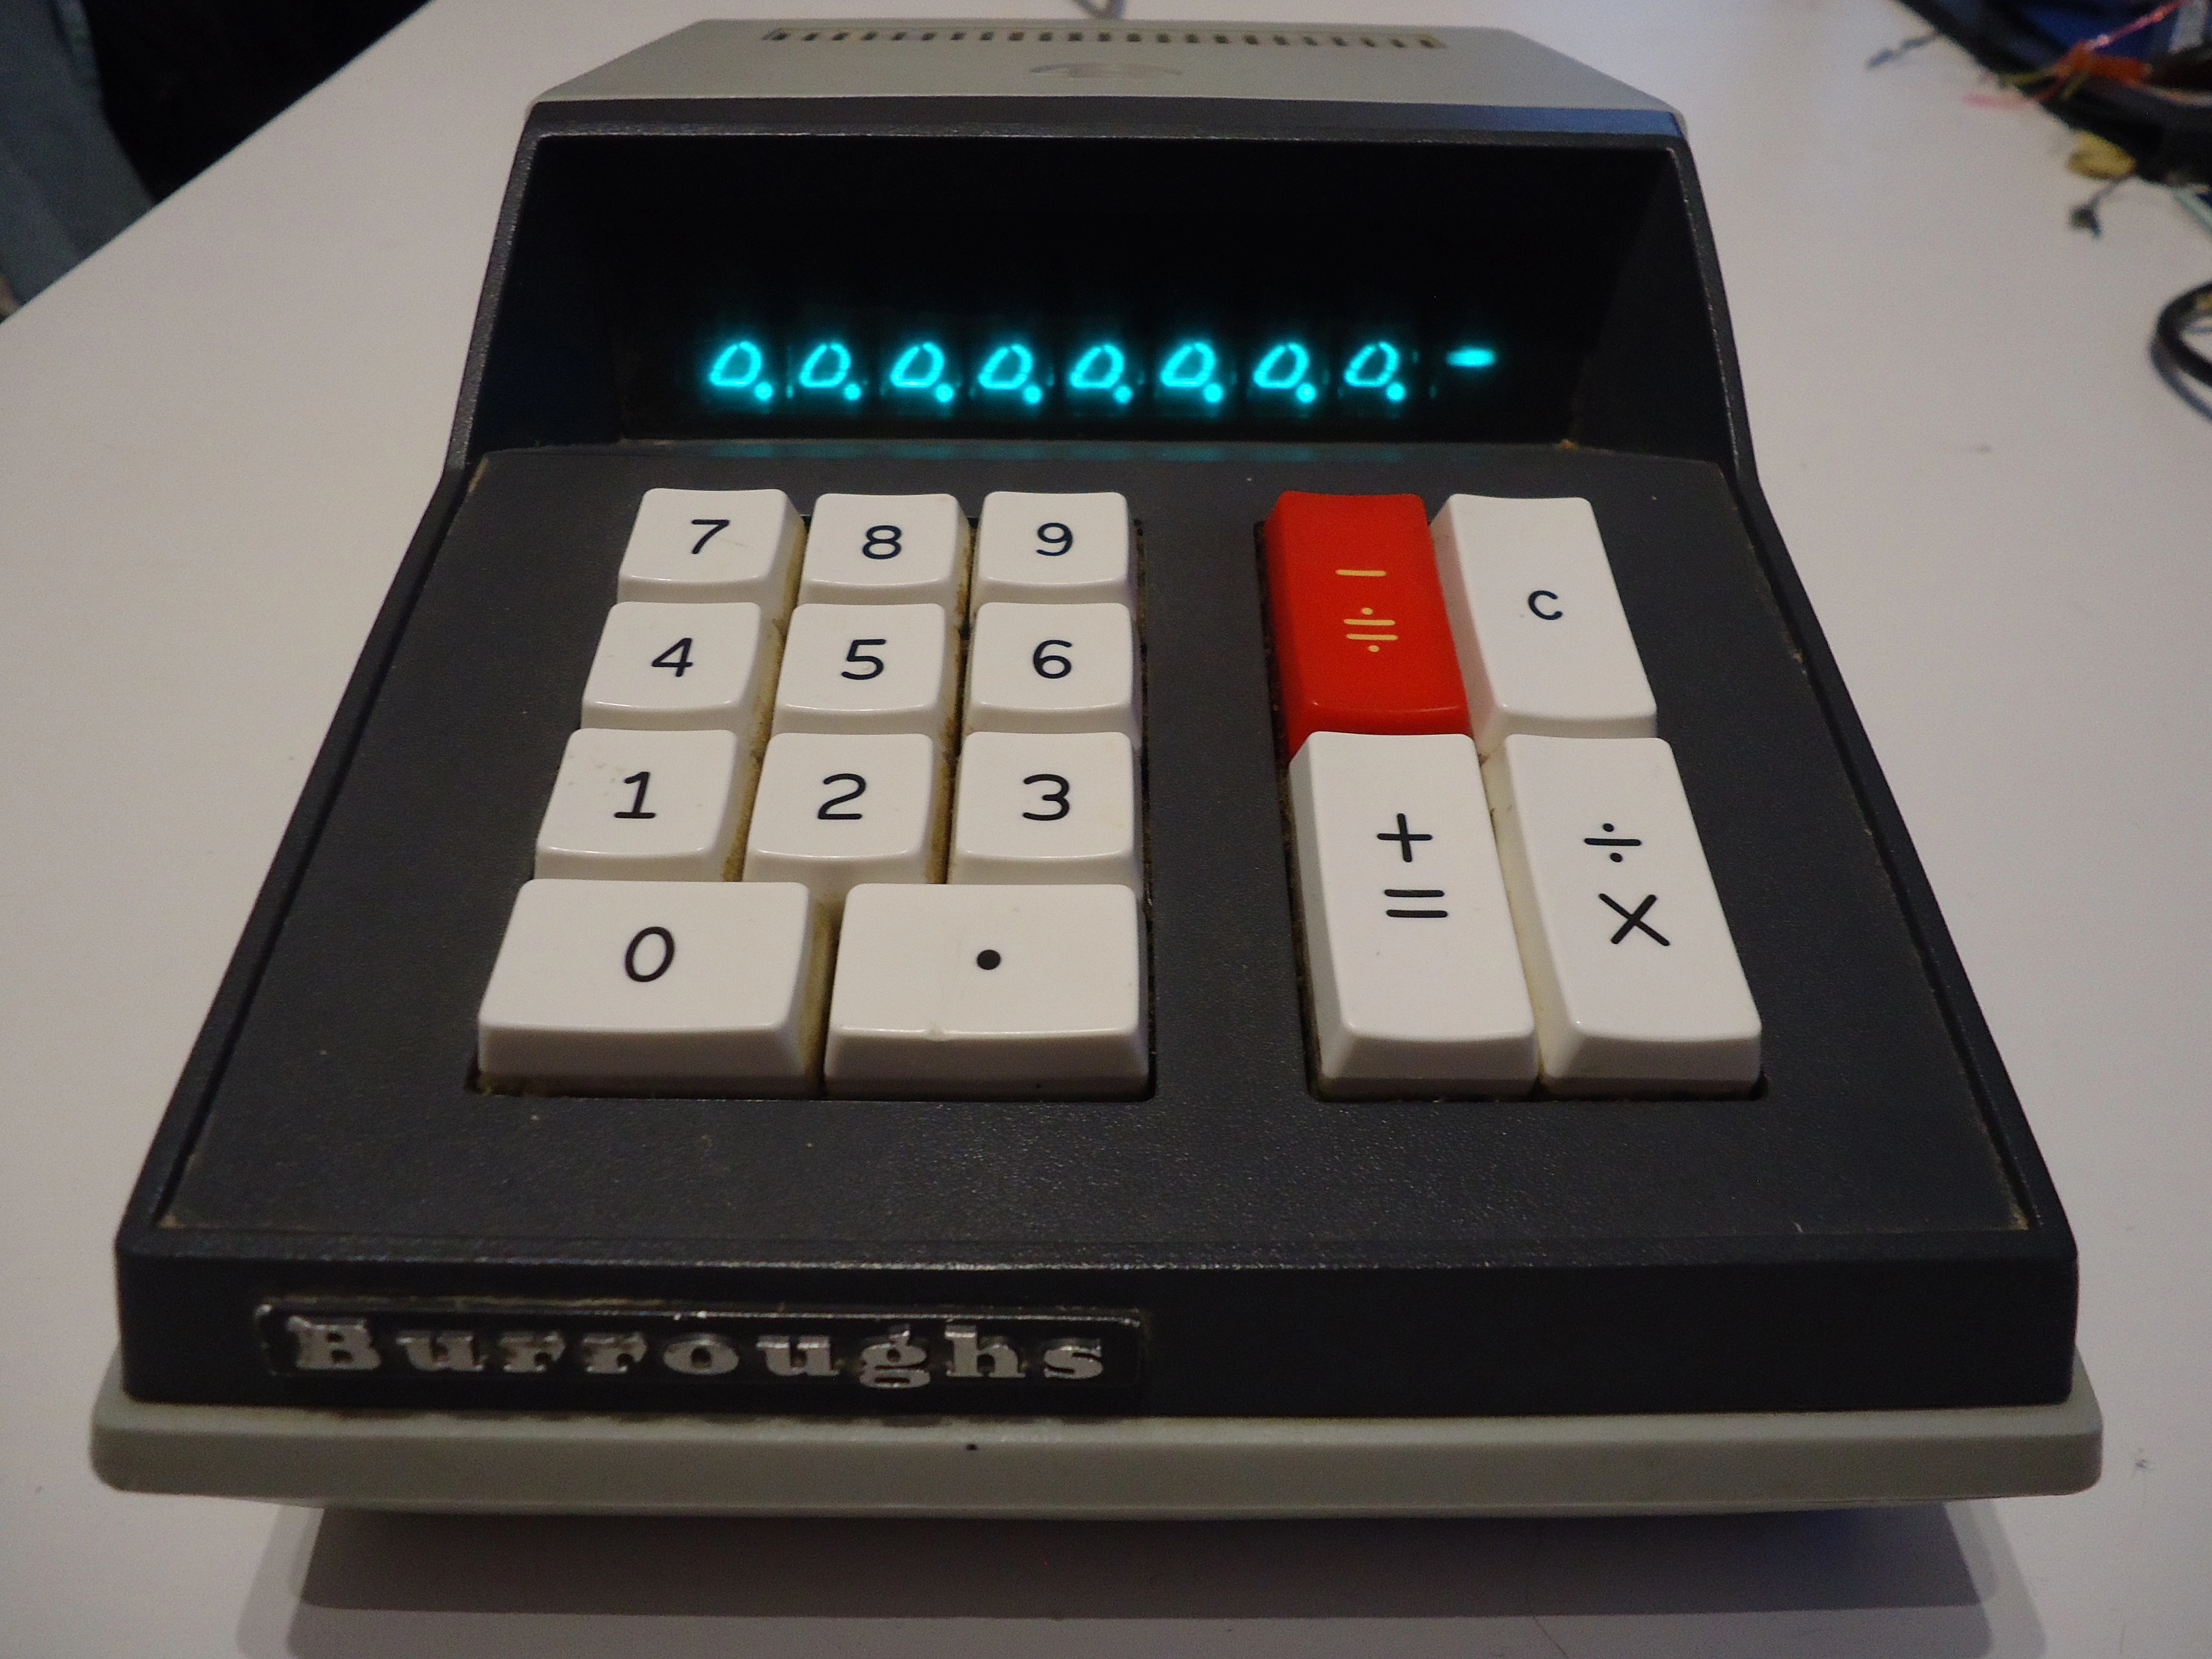
The calculator’s shape may feel unusual compared to the modern “TI-82” look that pretty much every handheld calculator has nowadays. Circuit miniaturization (which wasn’t really a thing back then, as we’ll see) and display technology constraints are the main culprits for that — it’s really a desktop calculator in the sense that you’re not carrying it around, it’s almost 1.4 kg (3 lbs) and needs 220V AC power to run.
Let’s have a quick look at the back:
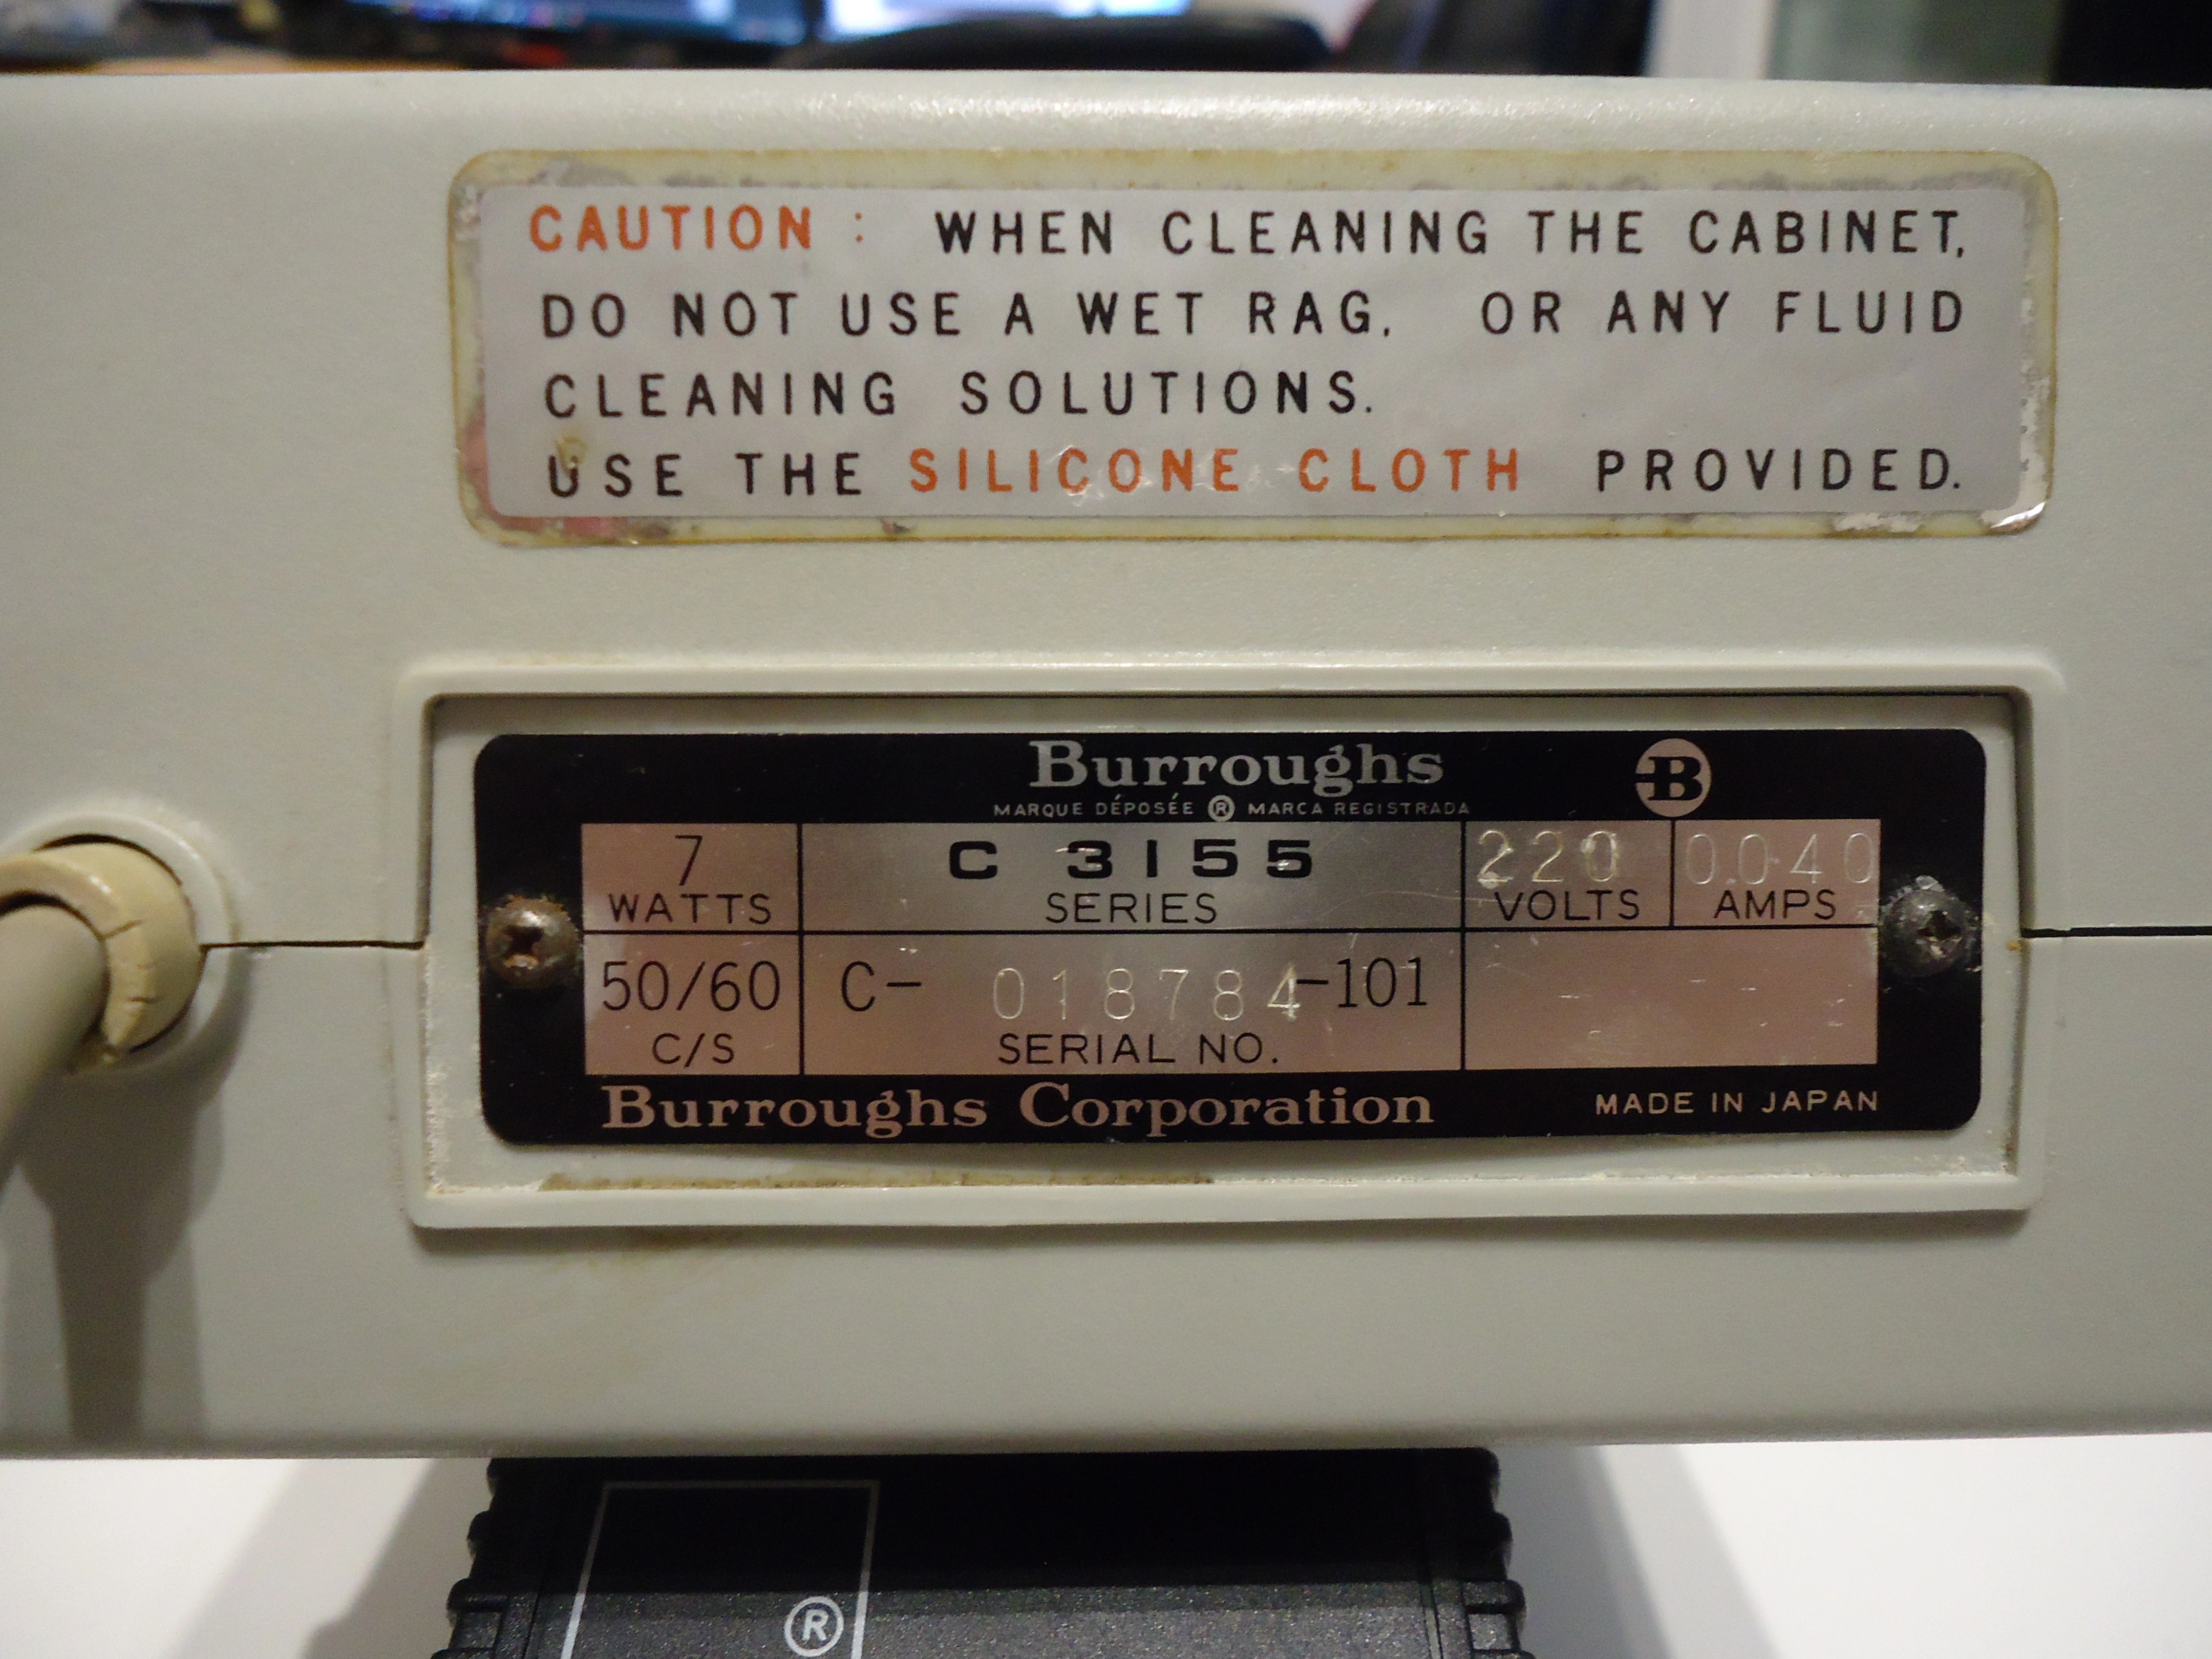
I unfortunately am not in possession of the provided silicone cloth, so I’ll skip on cleaning the cabinet (?) for now.
It’s funny to see that such a simple device needs a 7-watt power supply. For a rough back-of-the-envelope comparison, a TI-82 with its three 1.5V AAA batteries only draws around 0.1 watts.
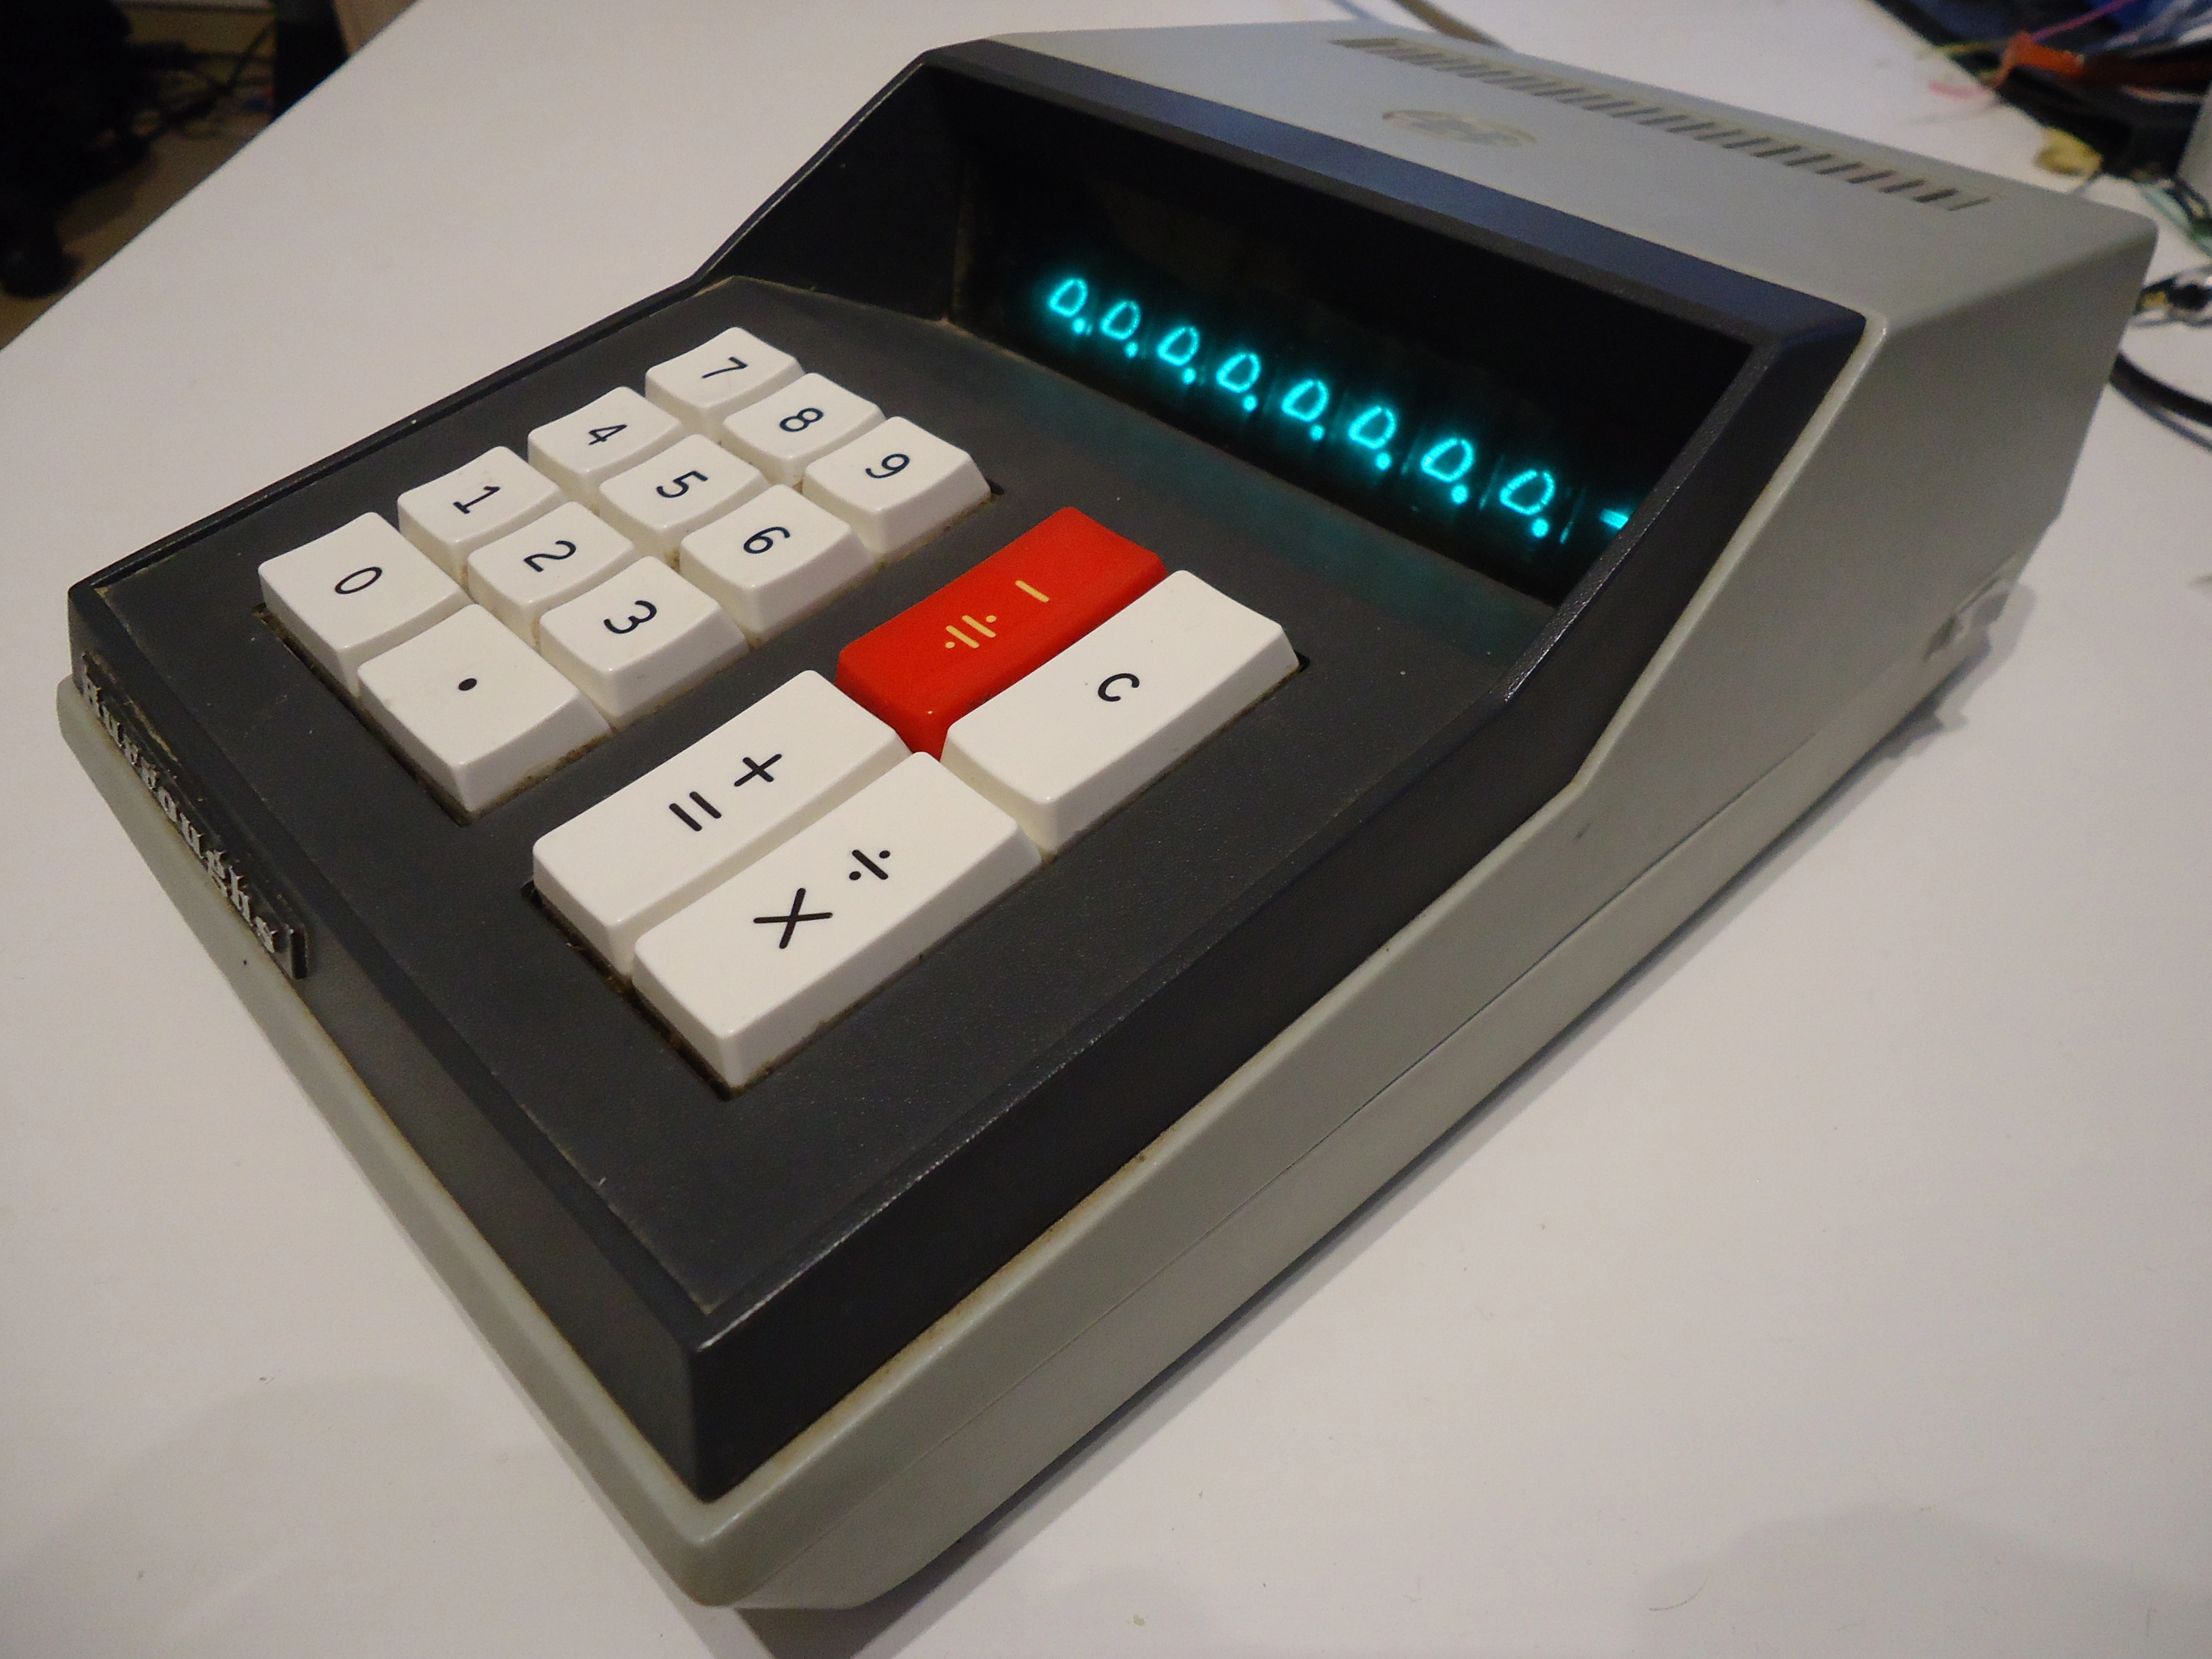
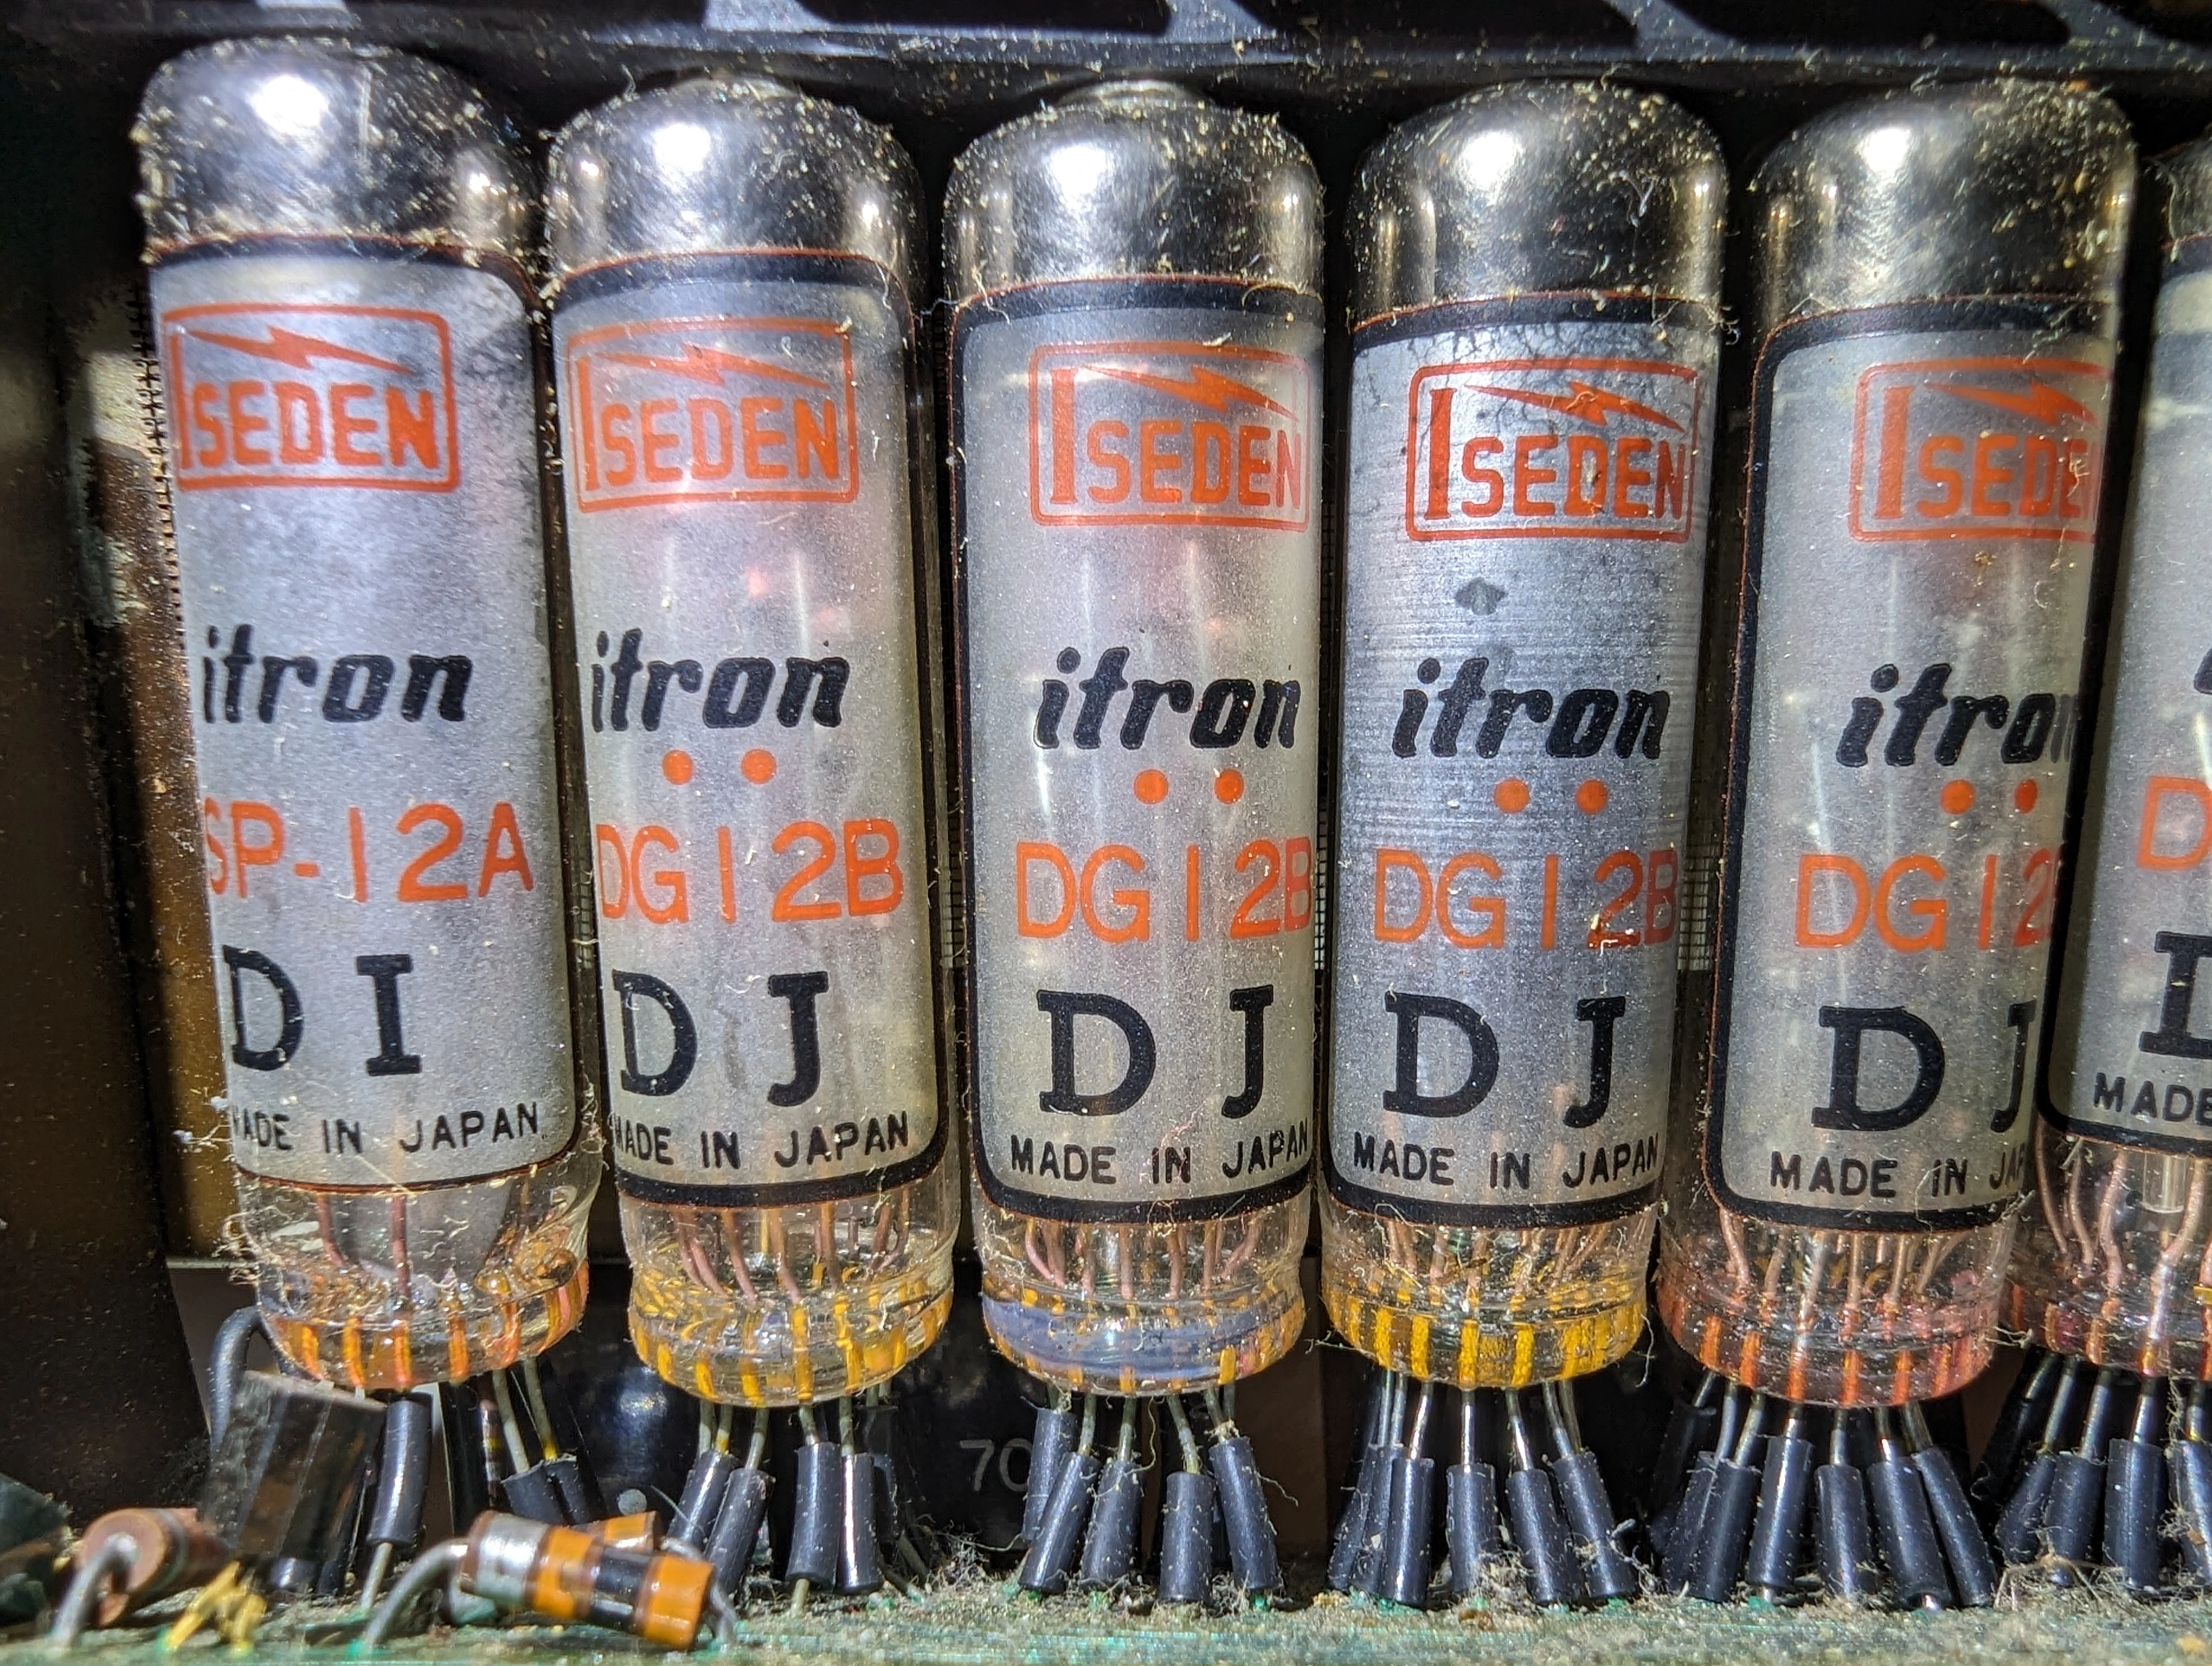
Here are the VFD tubes in all their glory:
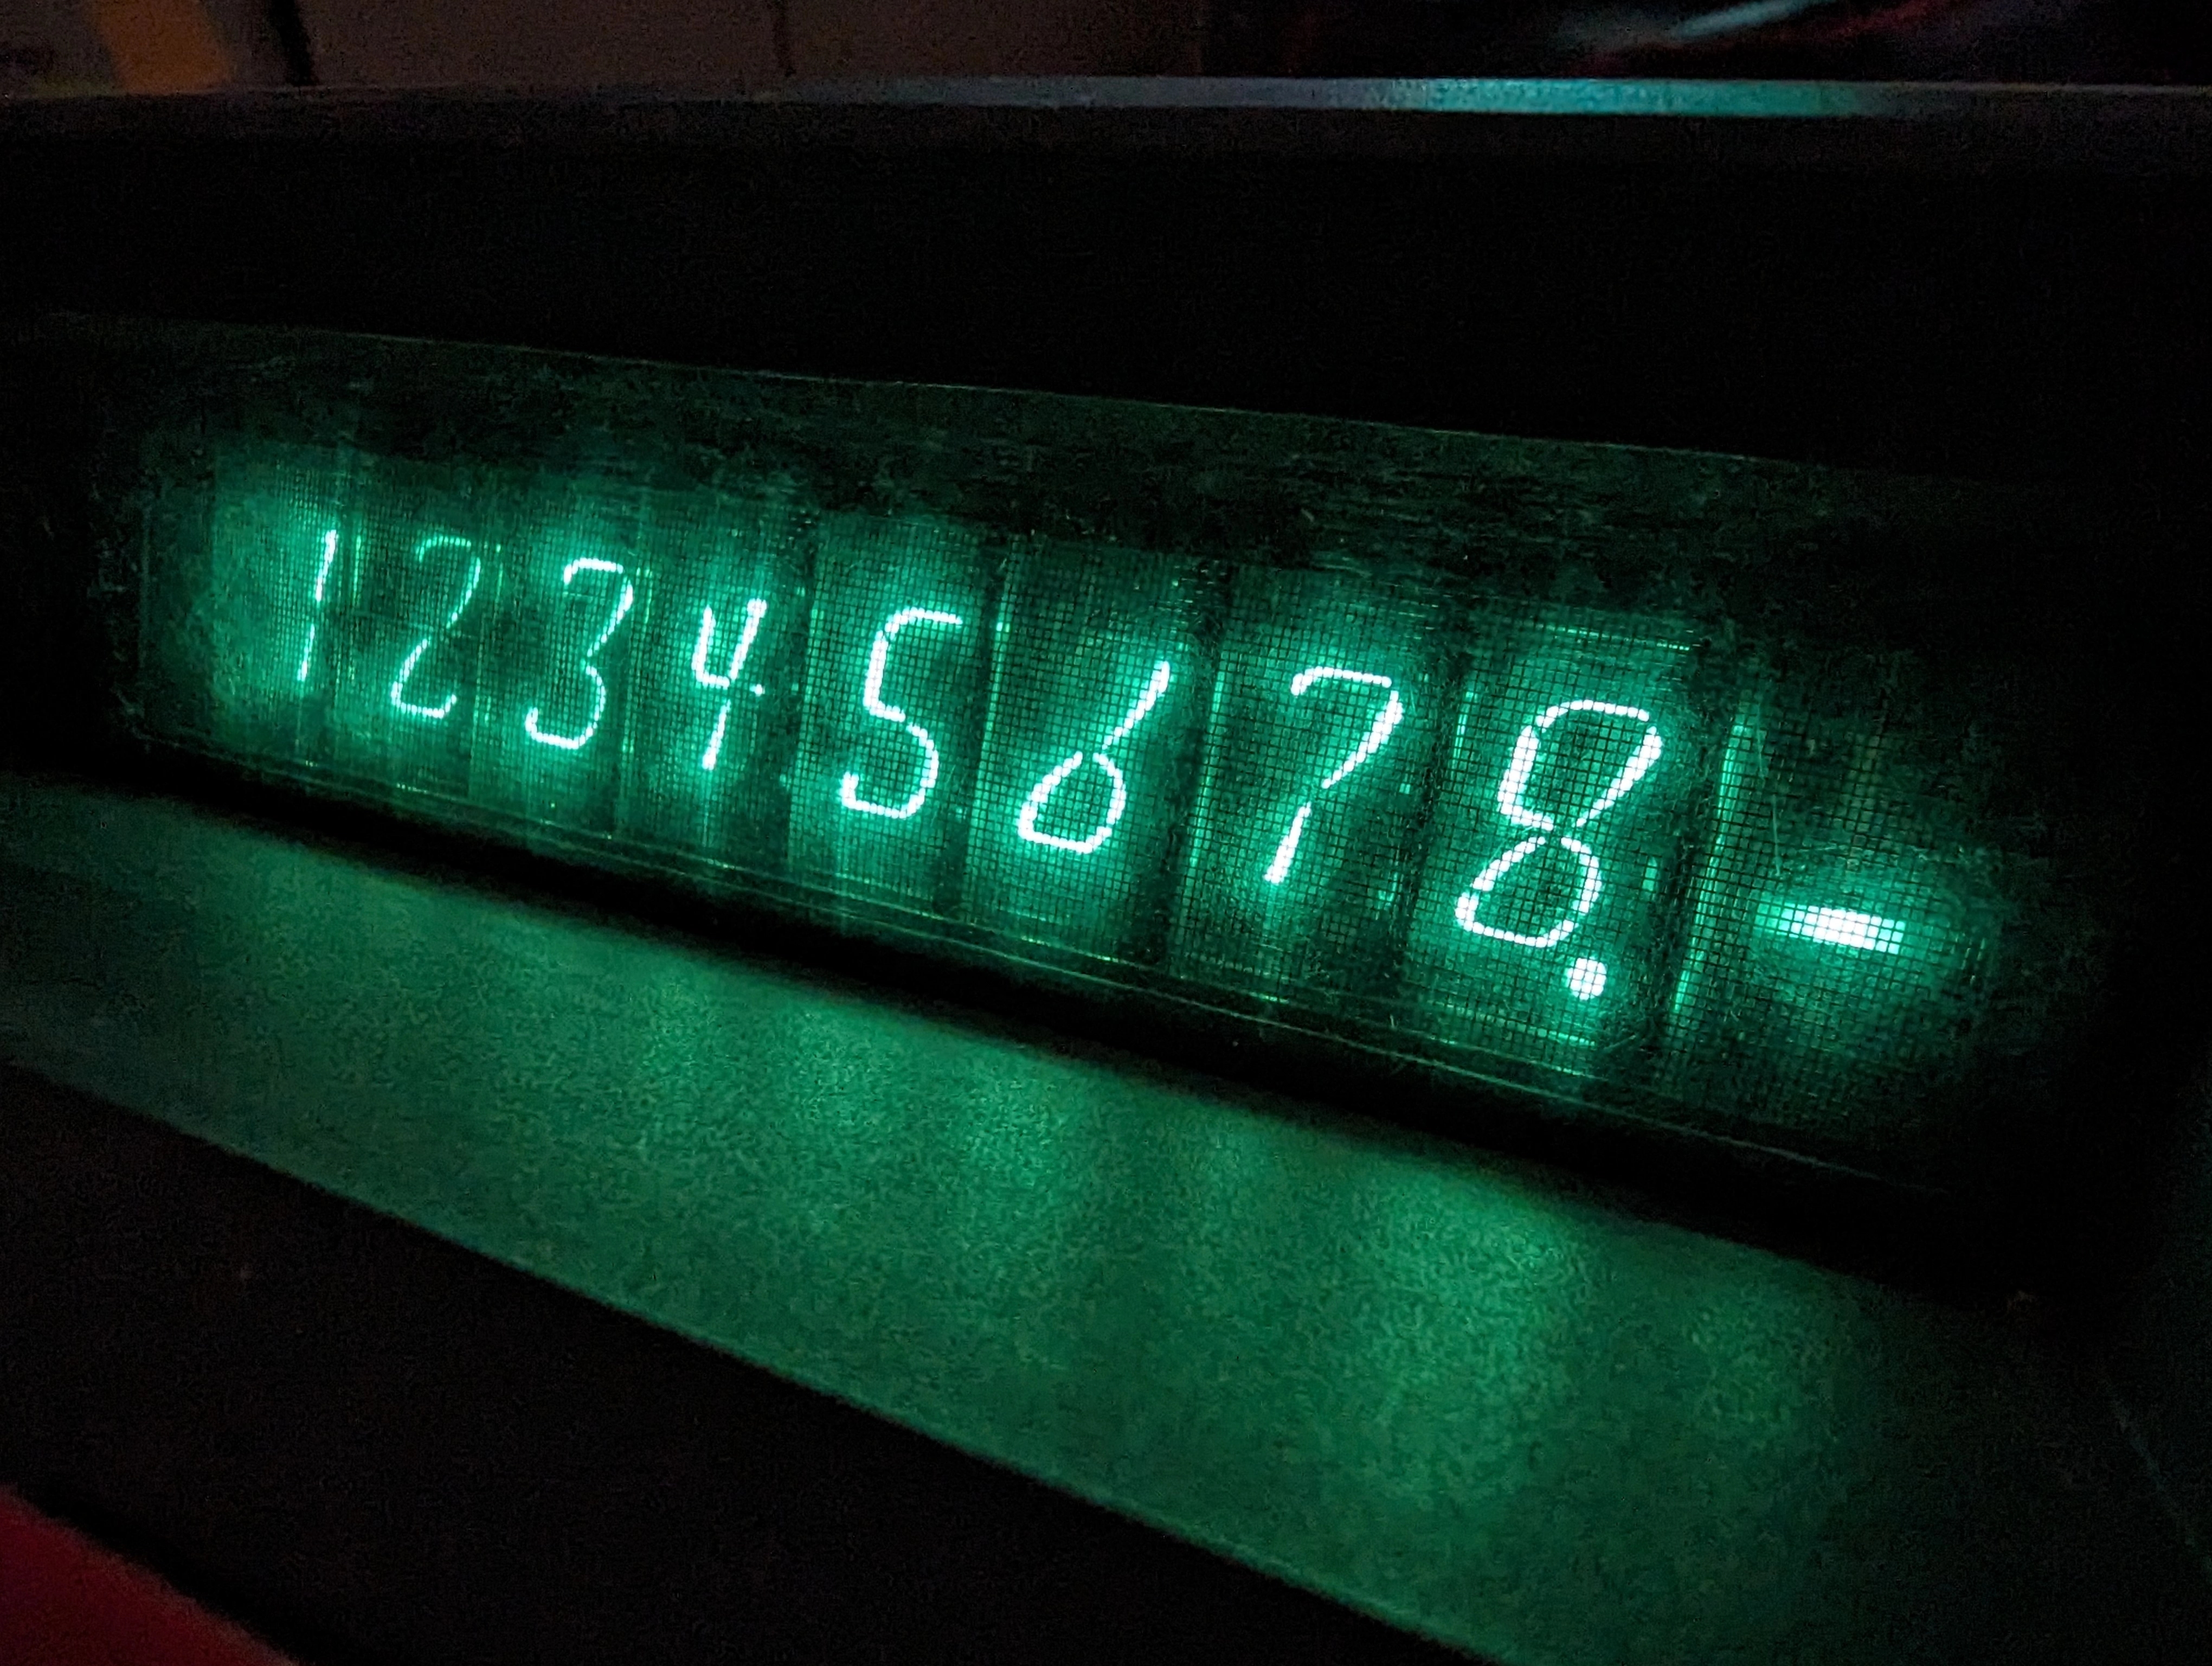
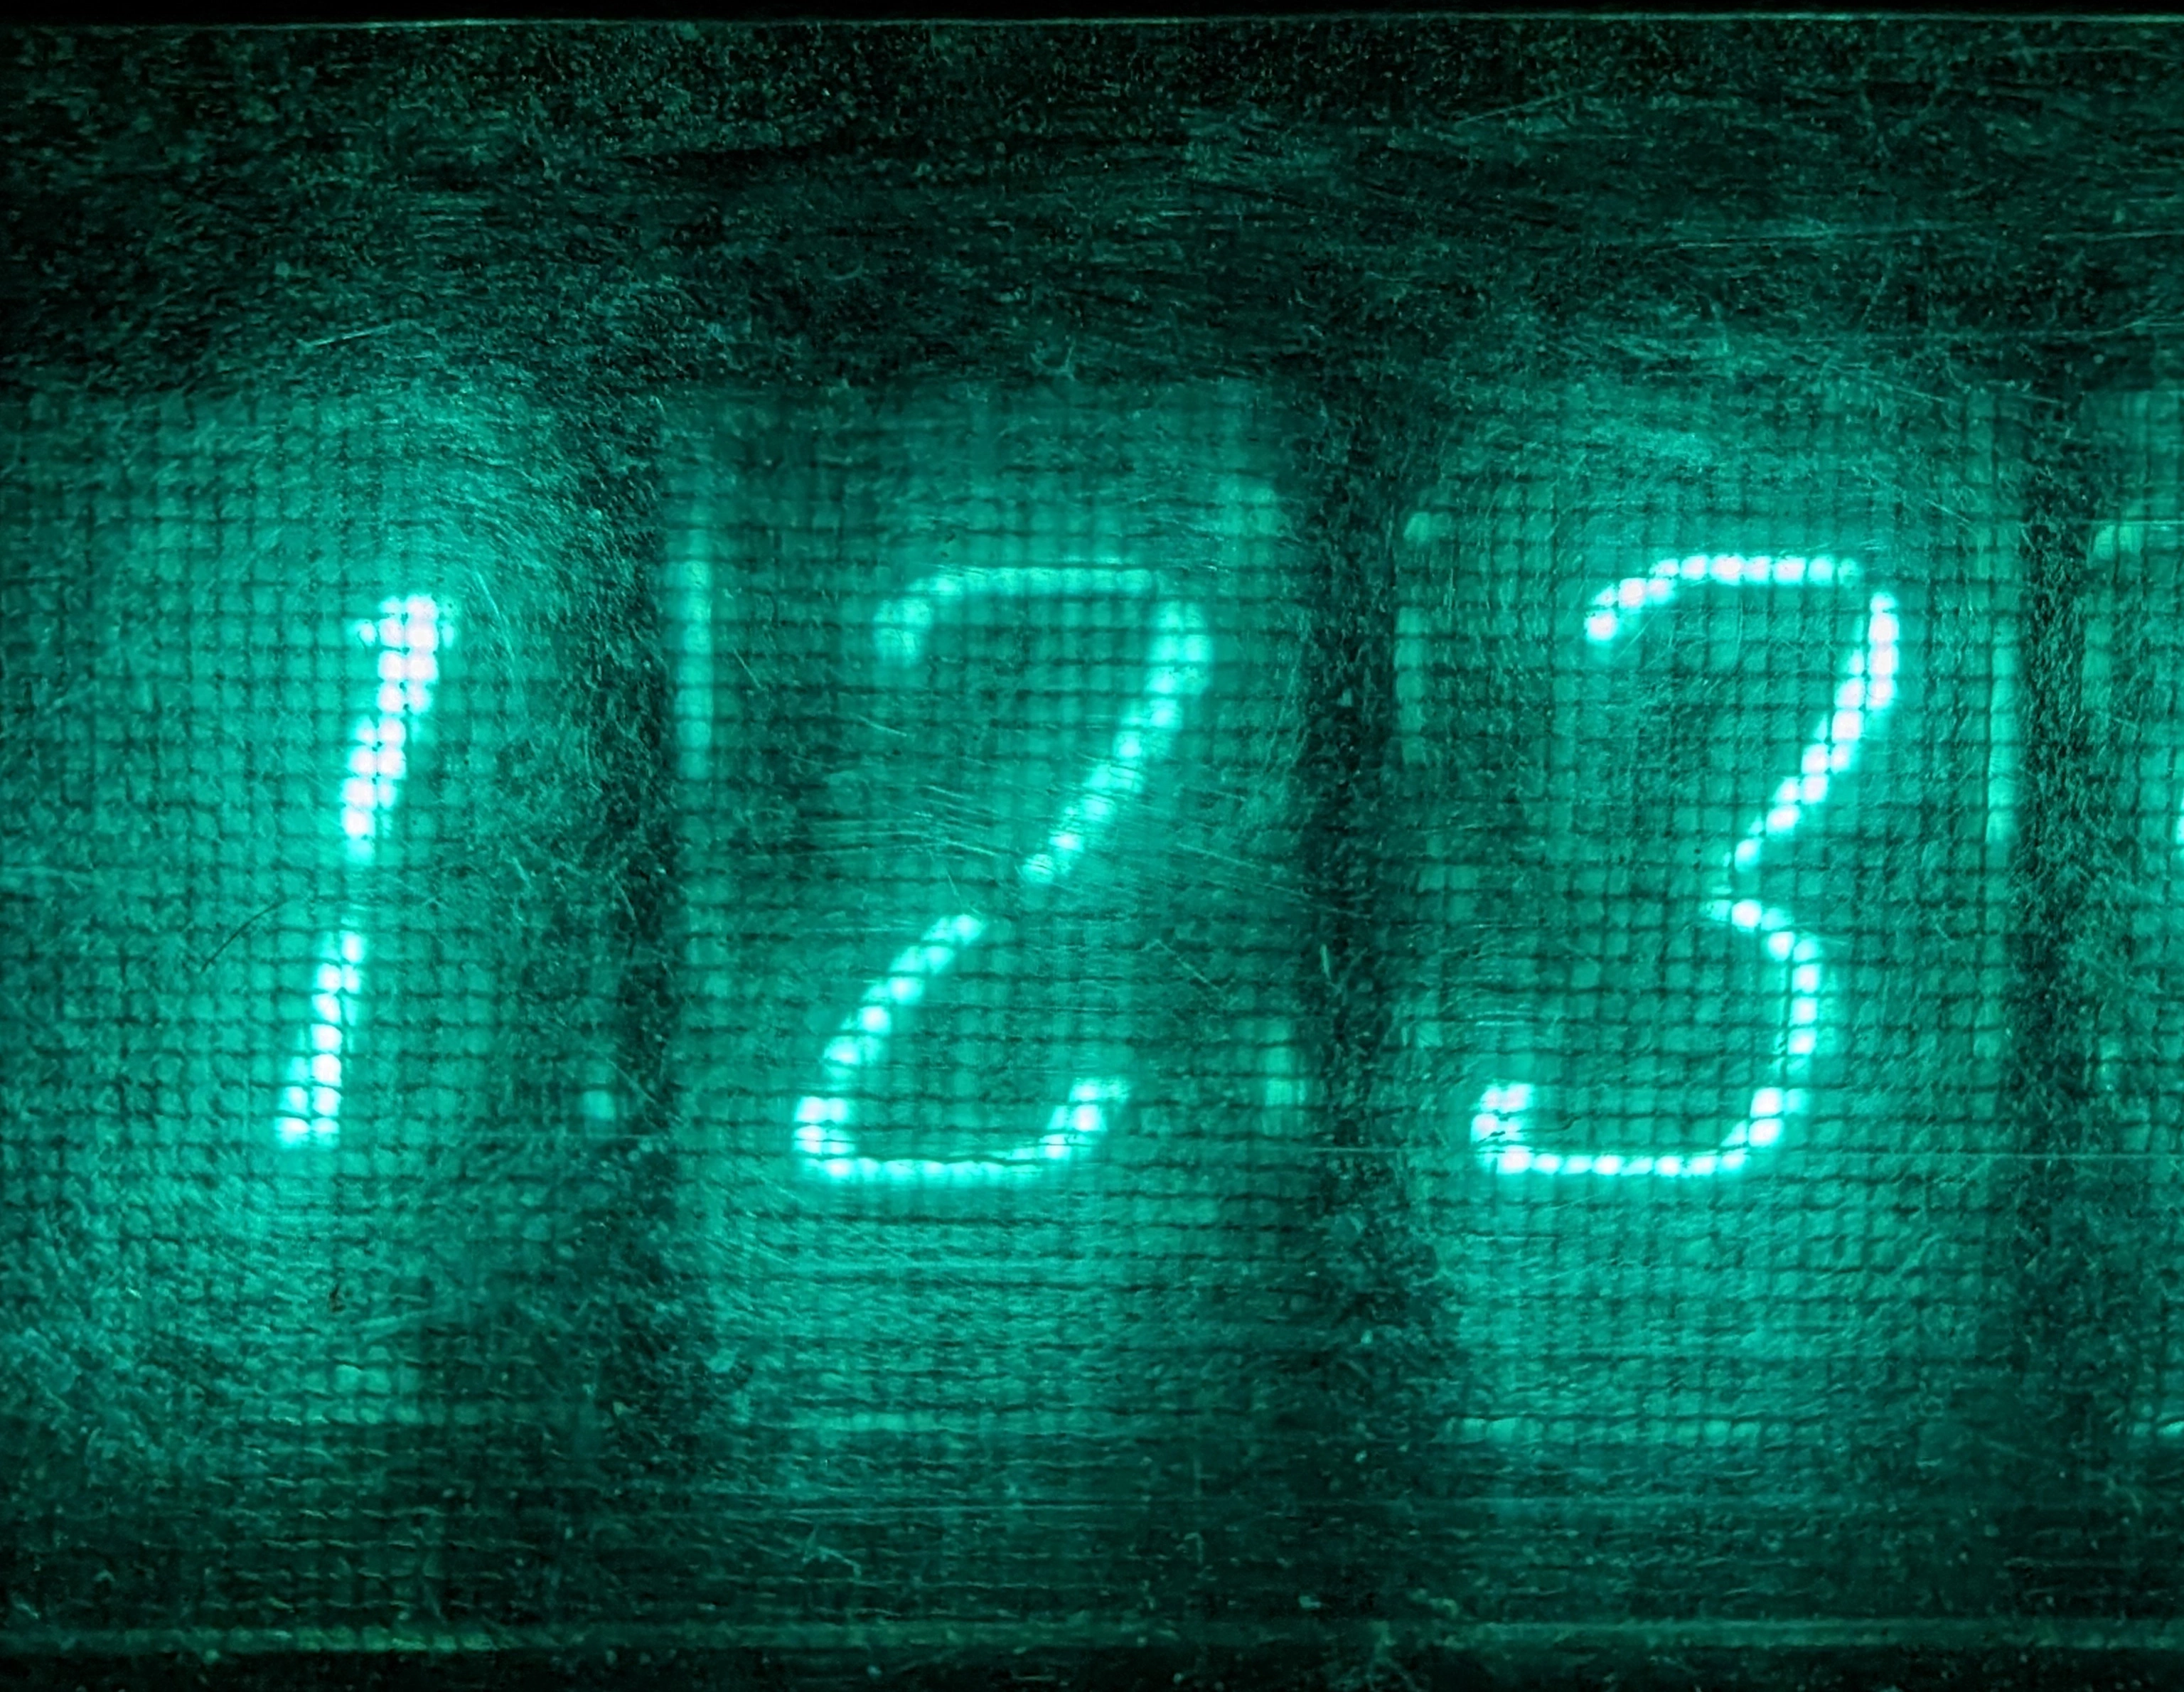
Another even-closer close-up:
The Inside
The case is easily opened by removing five screws next to the rubber feet. You’ll be happy to know that the calculator was assembled using ISO metric screws, bolts, and nuts:

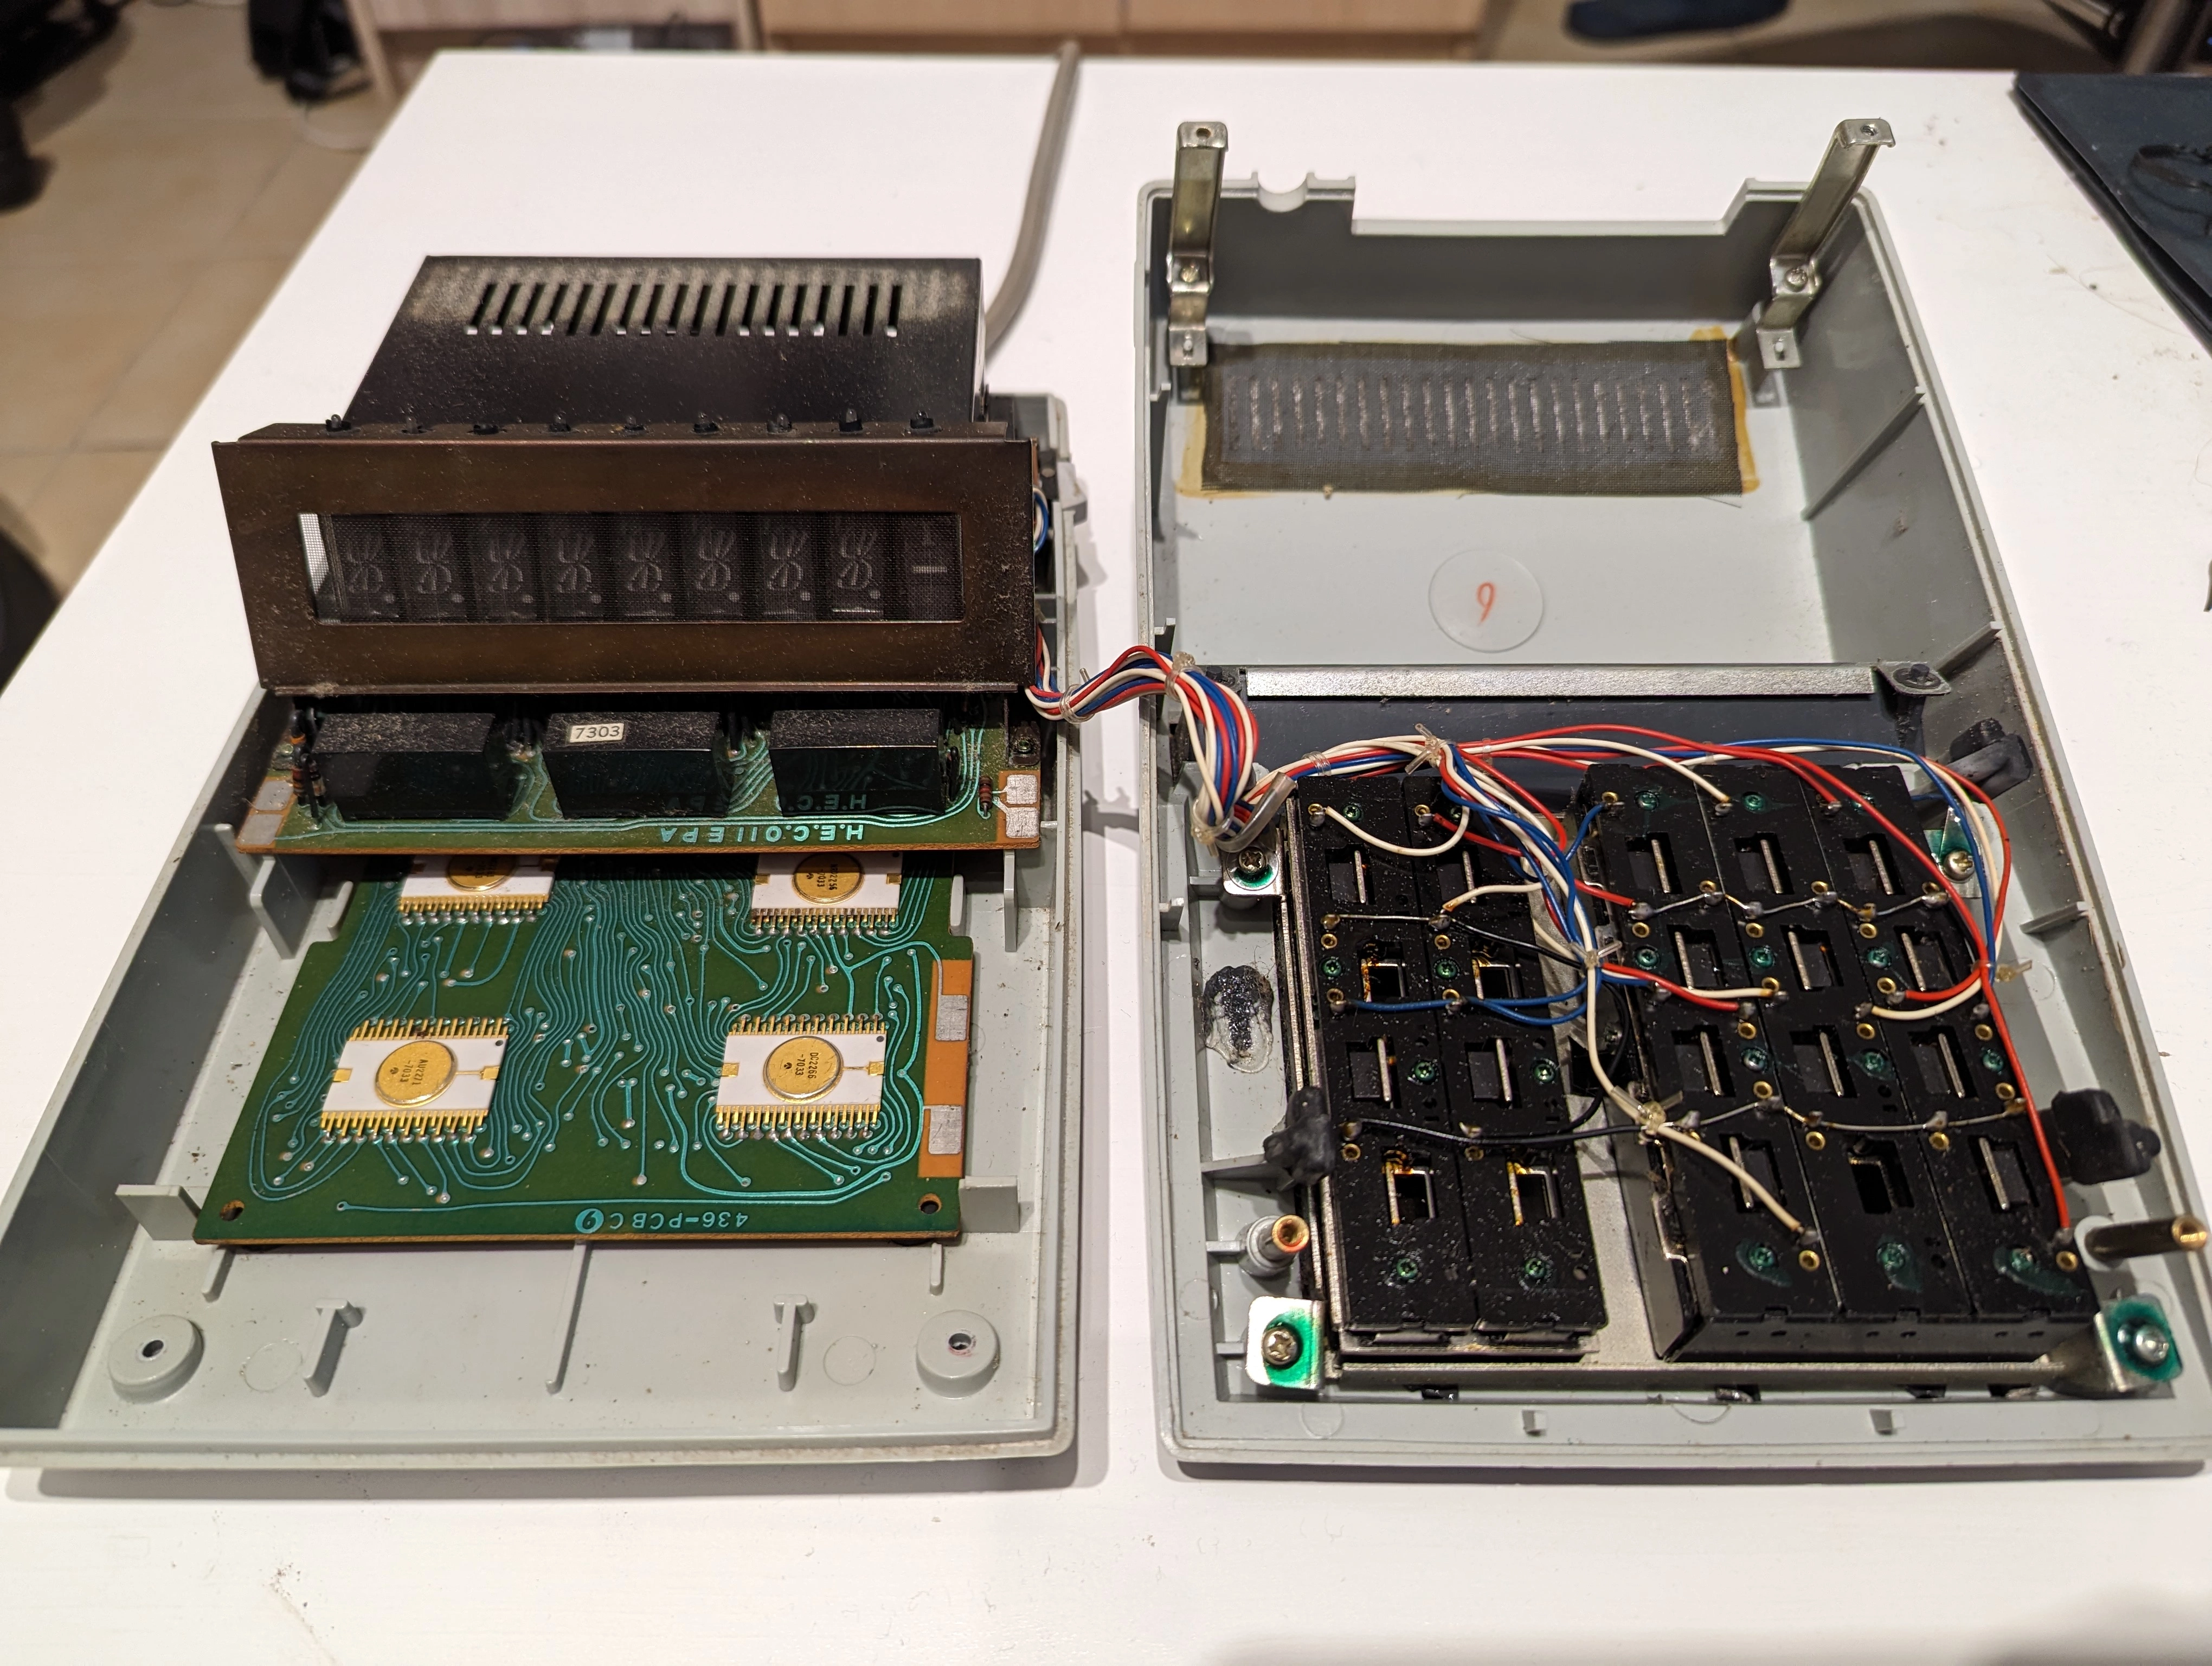
Here are the two halves of the device:
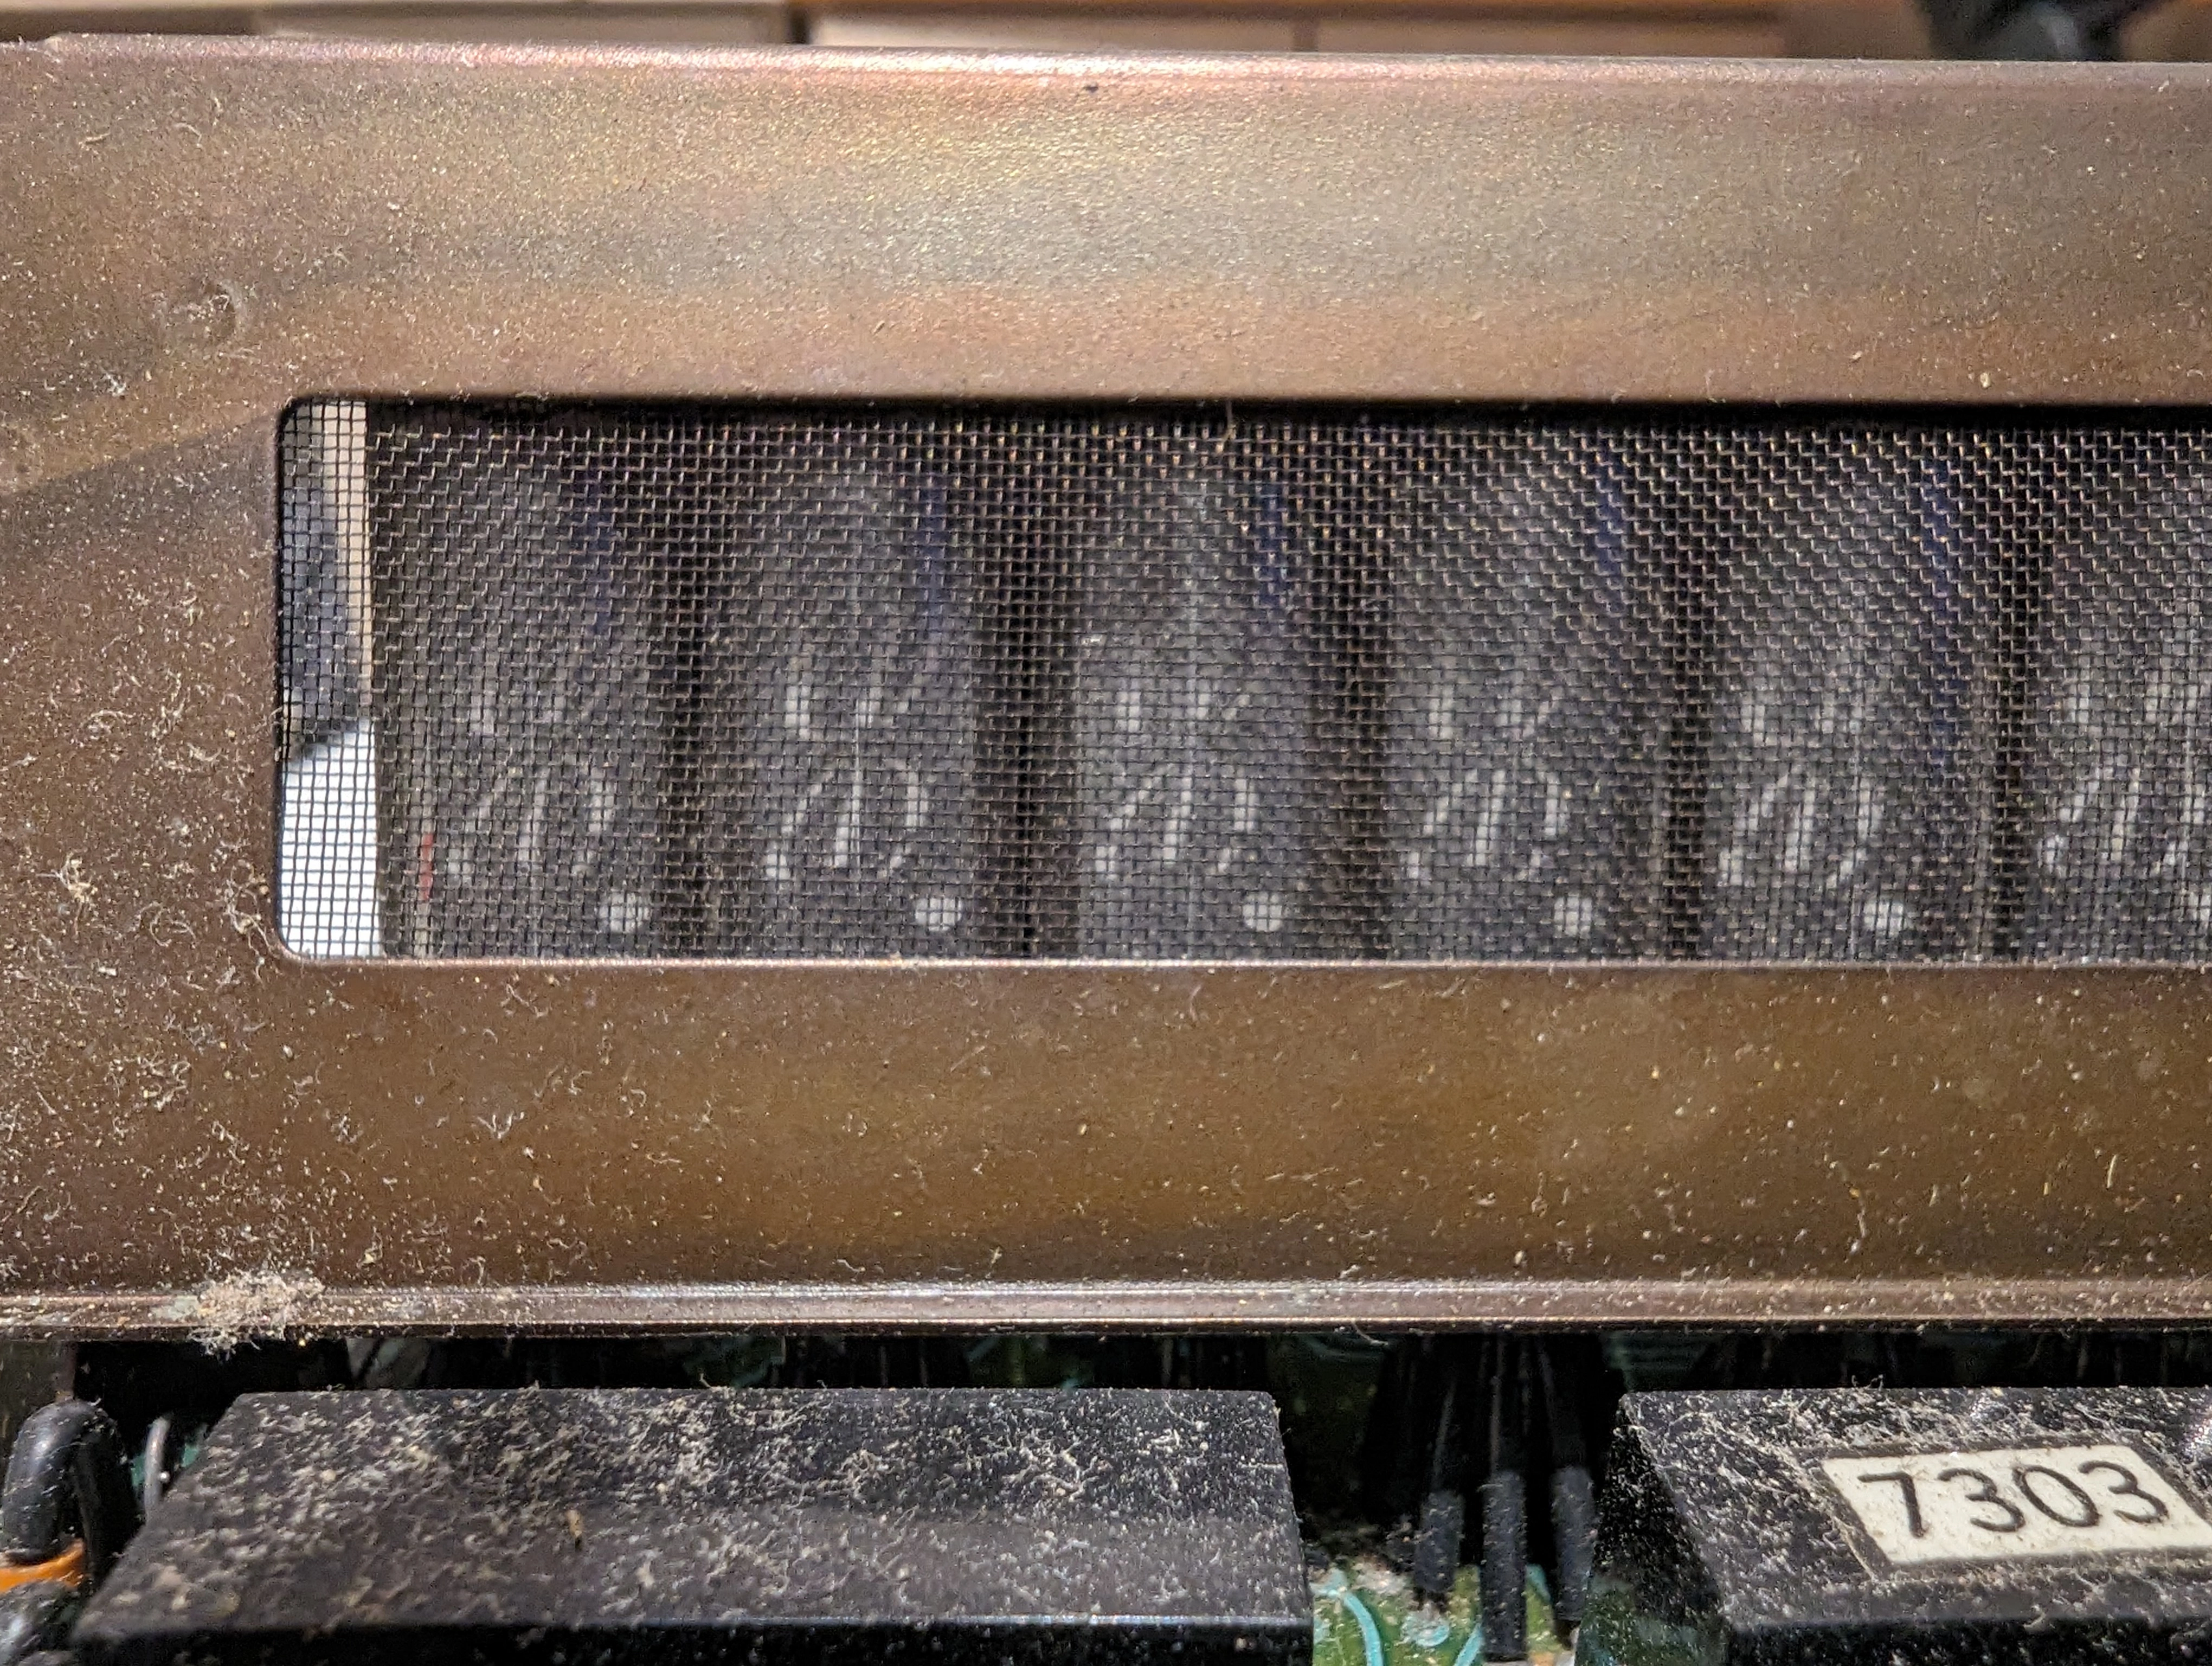
Close-up of the (dusty) VFD tubes:
The display assembly is mounted on the main circuit board using some sort of extension port, so it’s easily removable:
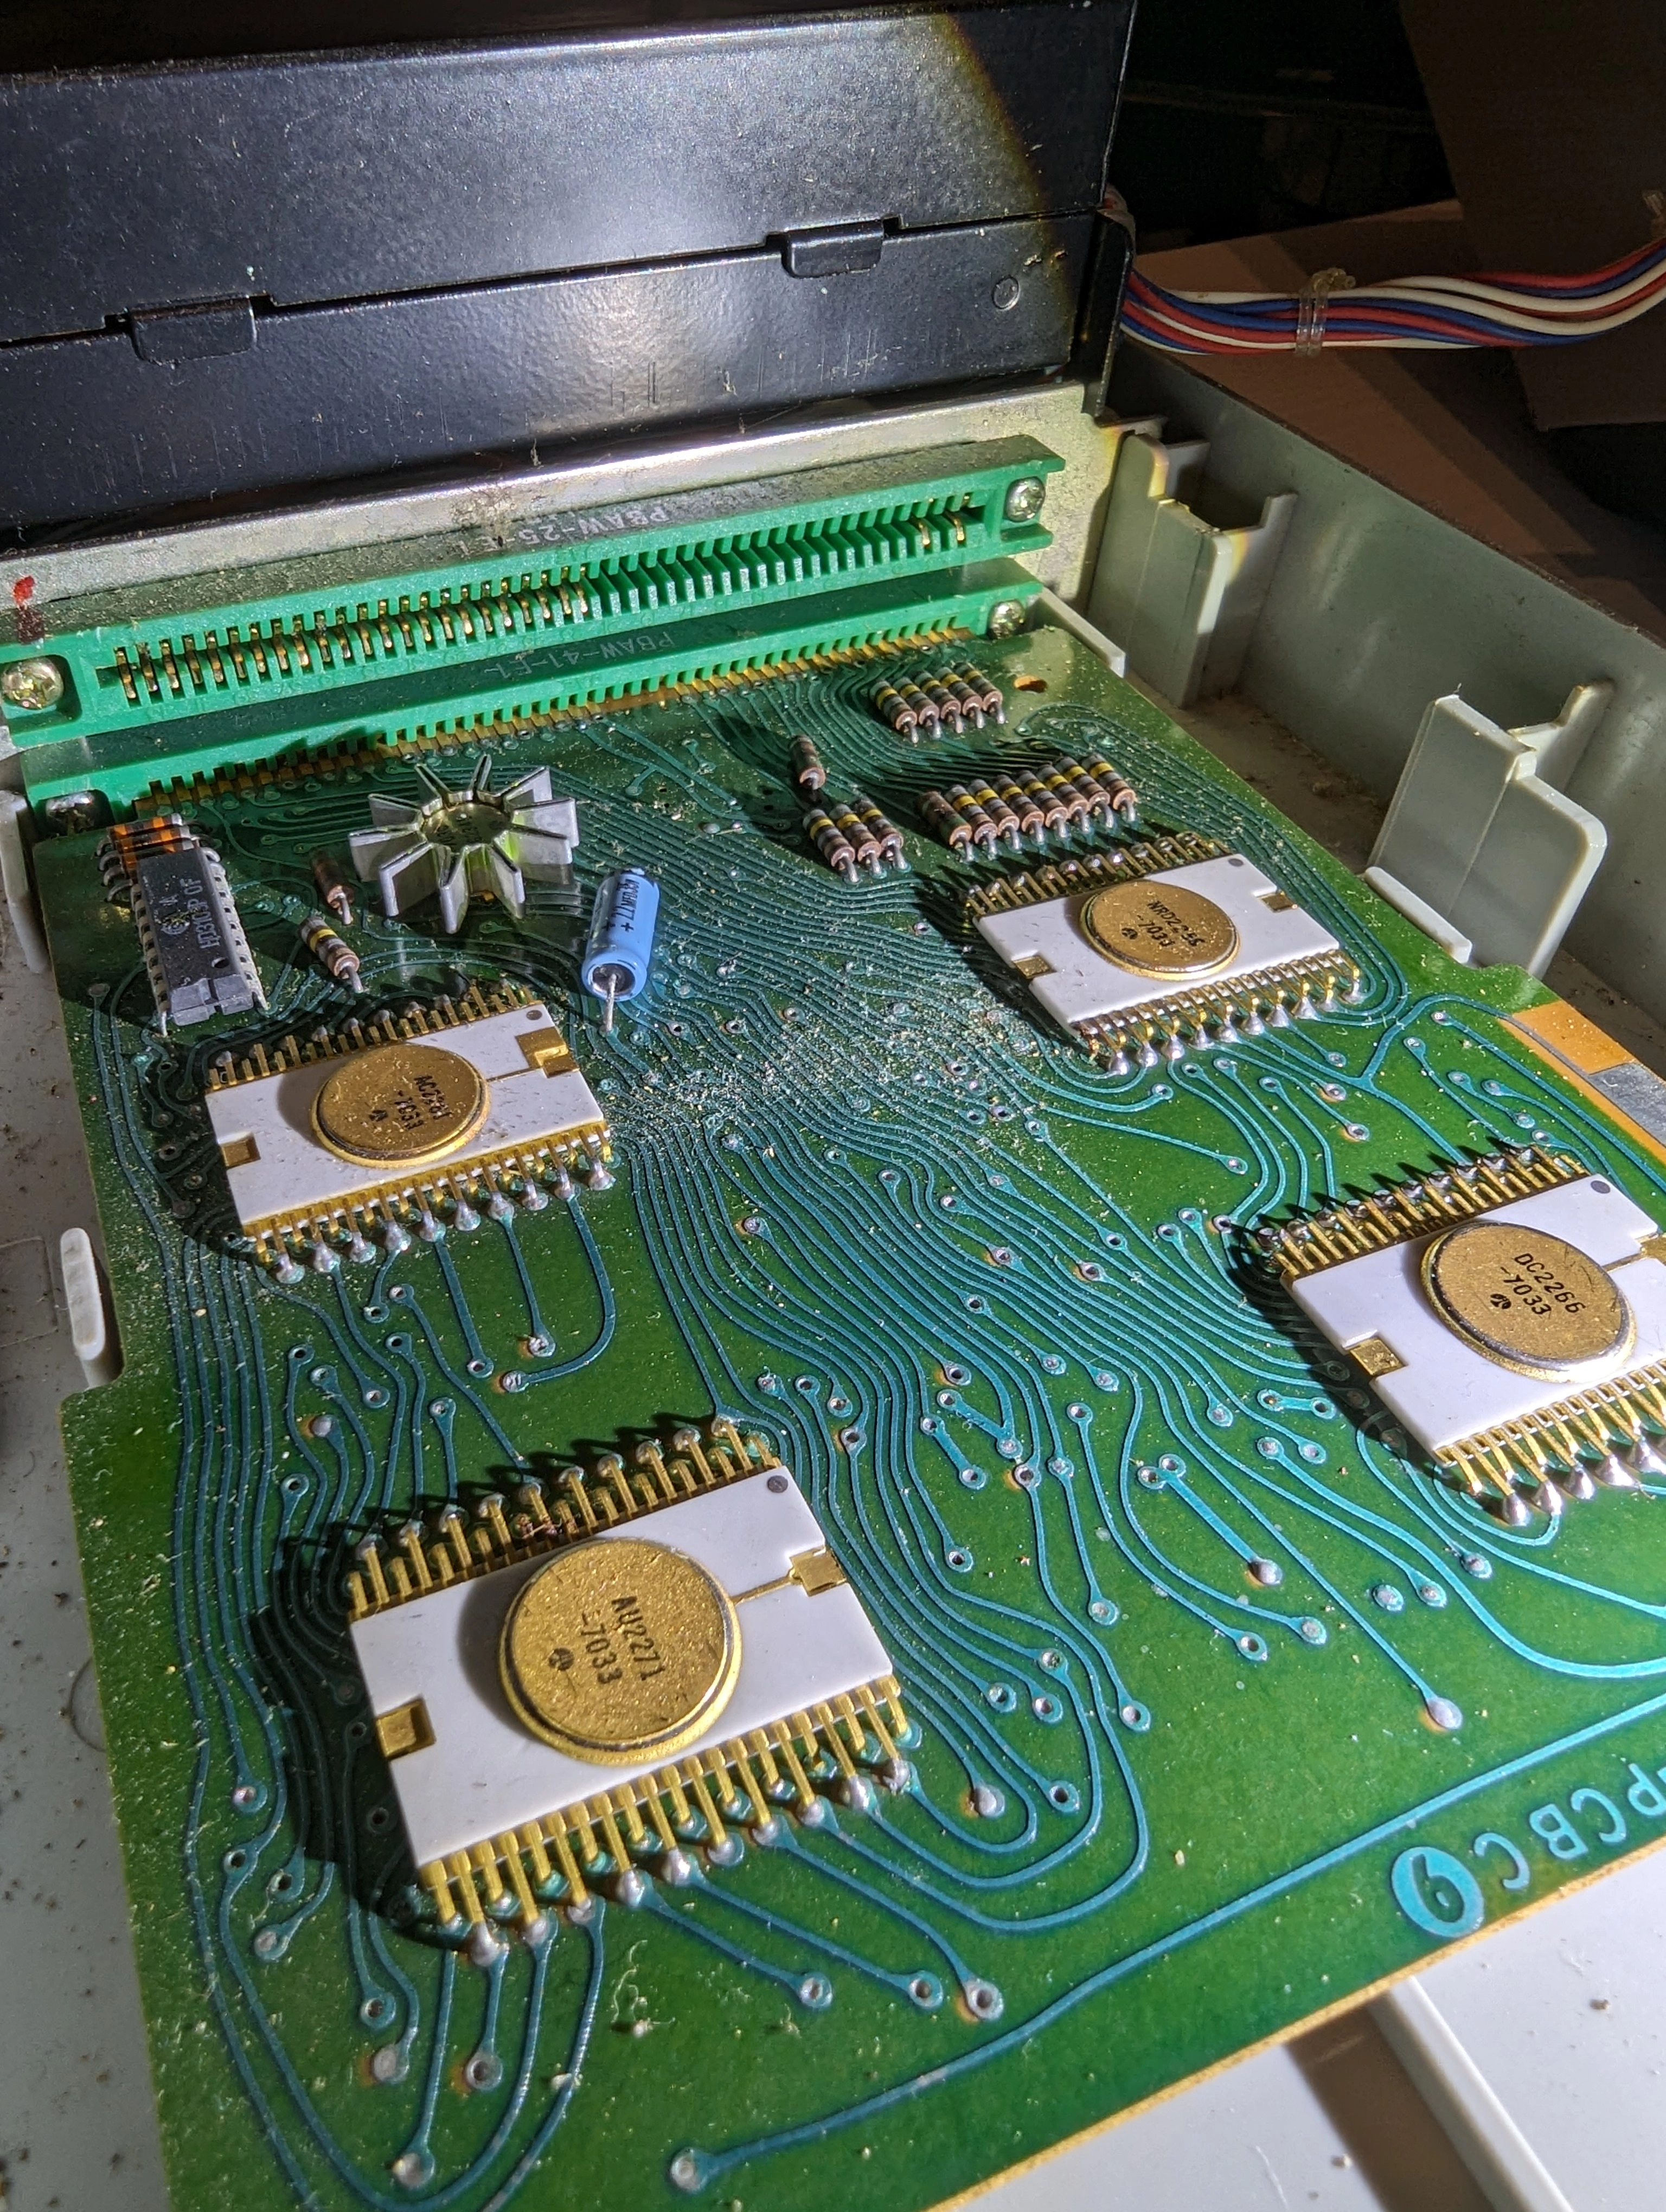
Main circuit board
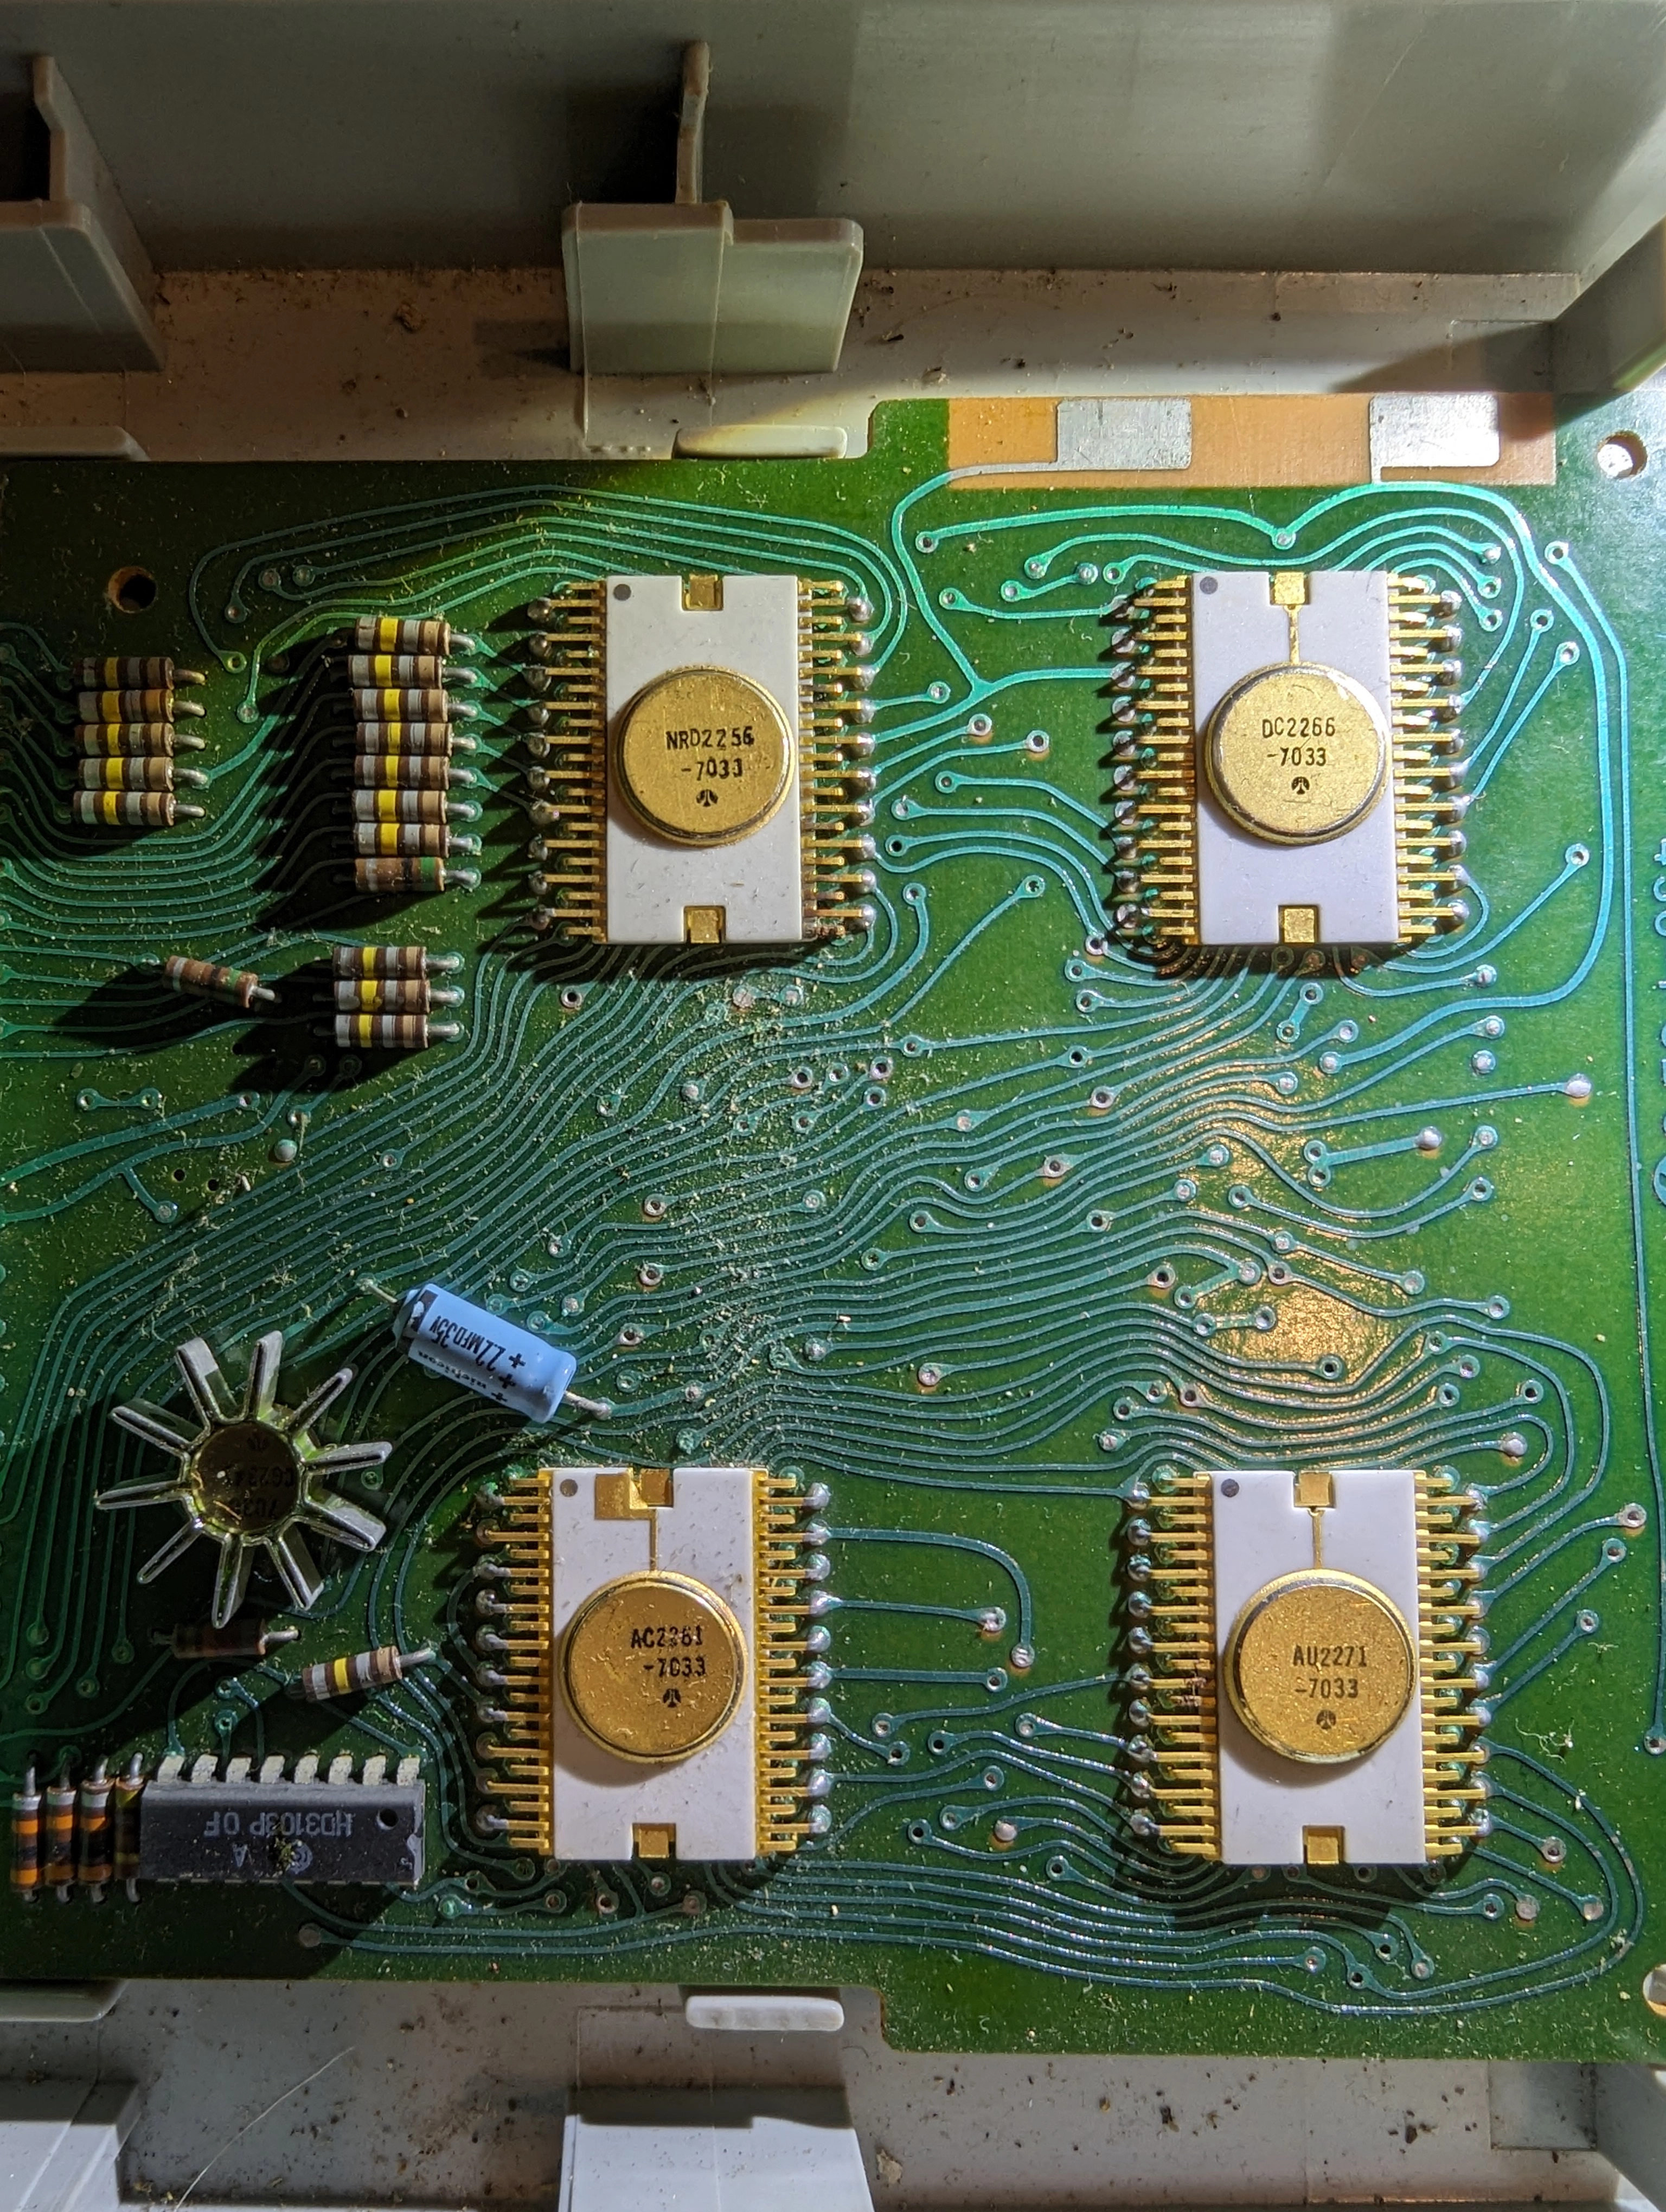
The first thing that jumped to my eyes was the peculiar wiring. It’s quite common on old circuits, from before the days of automatic computerized routing and tracing.
Next, we have the four main LSI chips, clockwise:
- a Rockwell NRD2256 keypad decoder
- a Rockwell DC2266 decimal point manager
- a Rockwell AU2271 arithmetic unit/register store
- a Rockwell AC2261 control logic unit
In the original version of this post, I indicated that the QT-8D, that the Burroughs model clones, used the AU2276 and AC2266 chips. The information came from this website, which cited the a 1969 edition of Electronics (page 204) as a source. It seems that either the magazine made a mistake, or the choice of chips changed during the development of the product: the QT-8D did indeed use the AU2271 and AC2261 chip. This is also mentioned on the QT-8D’s Wikipedia page.
In the bottom left, we have:
- a Rockwell CG2341 clock generator with its star-shaped heatsink
- a Hitachi HD3103 chip that provides 5 MOSFETs
A detailed reverse-engineering of the calculator’s internals can be found in this article by Ken Shirriff.
Notice how the chips are packaged in ceramic instead of the nowadays more usual black plastic.

The rest are passive components, no need to go into details.
Display block
Here’s the display block:
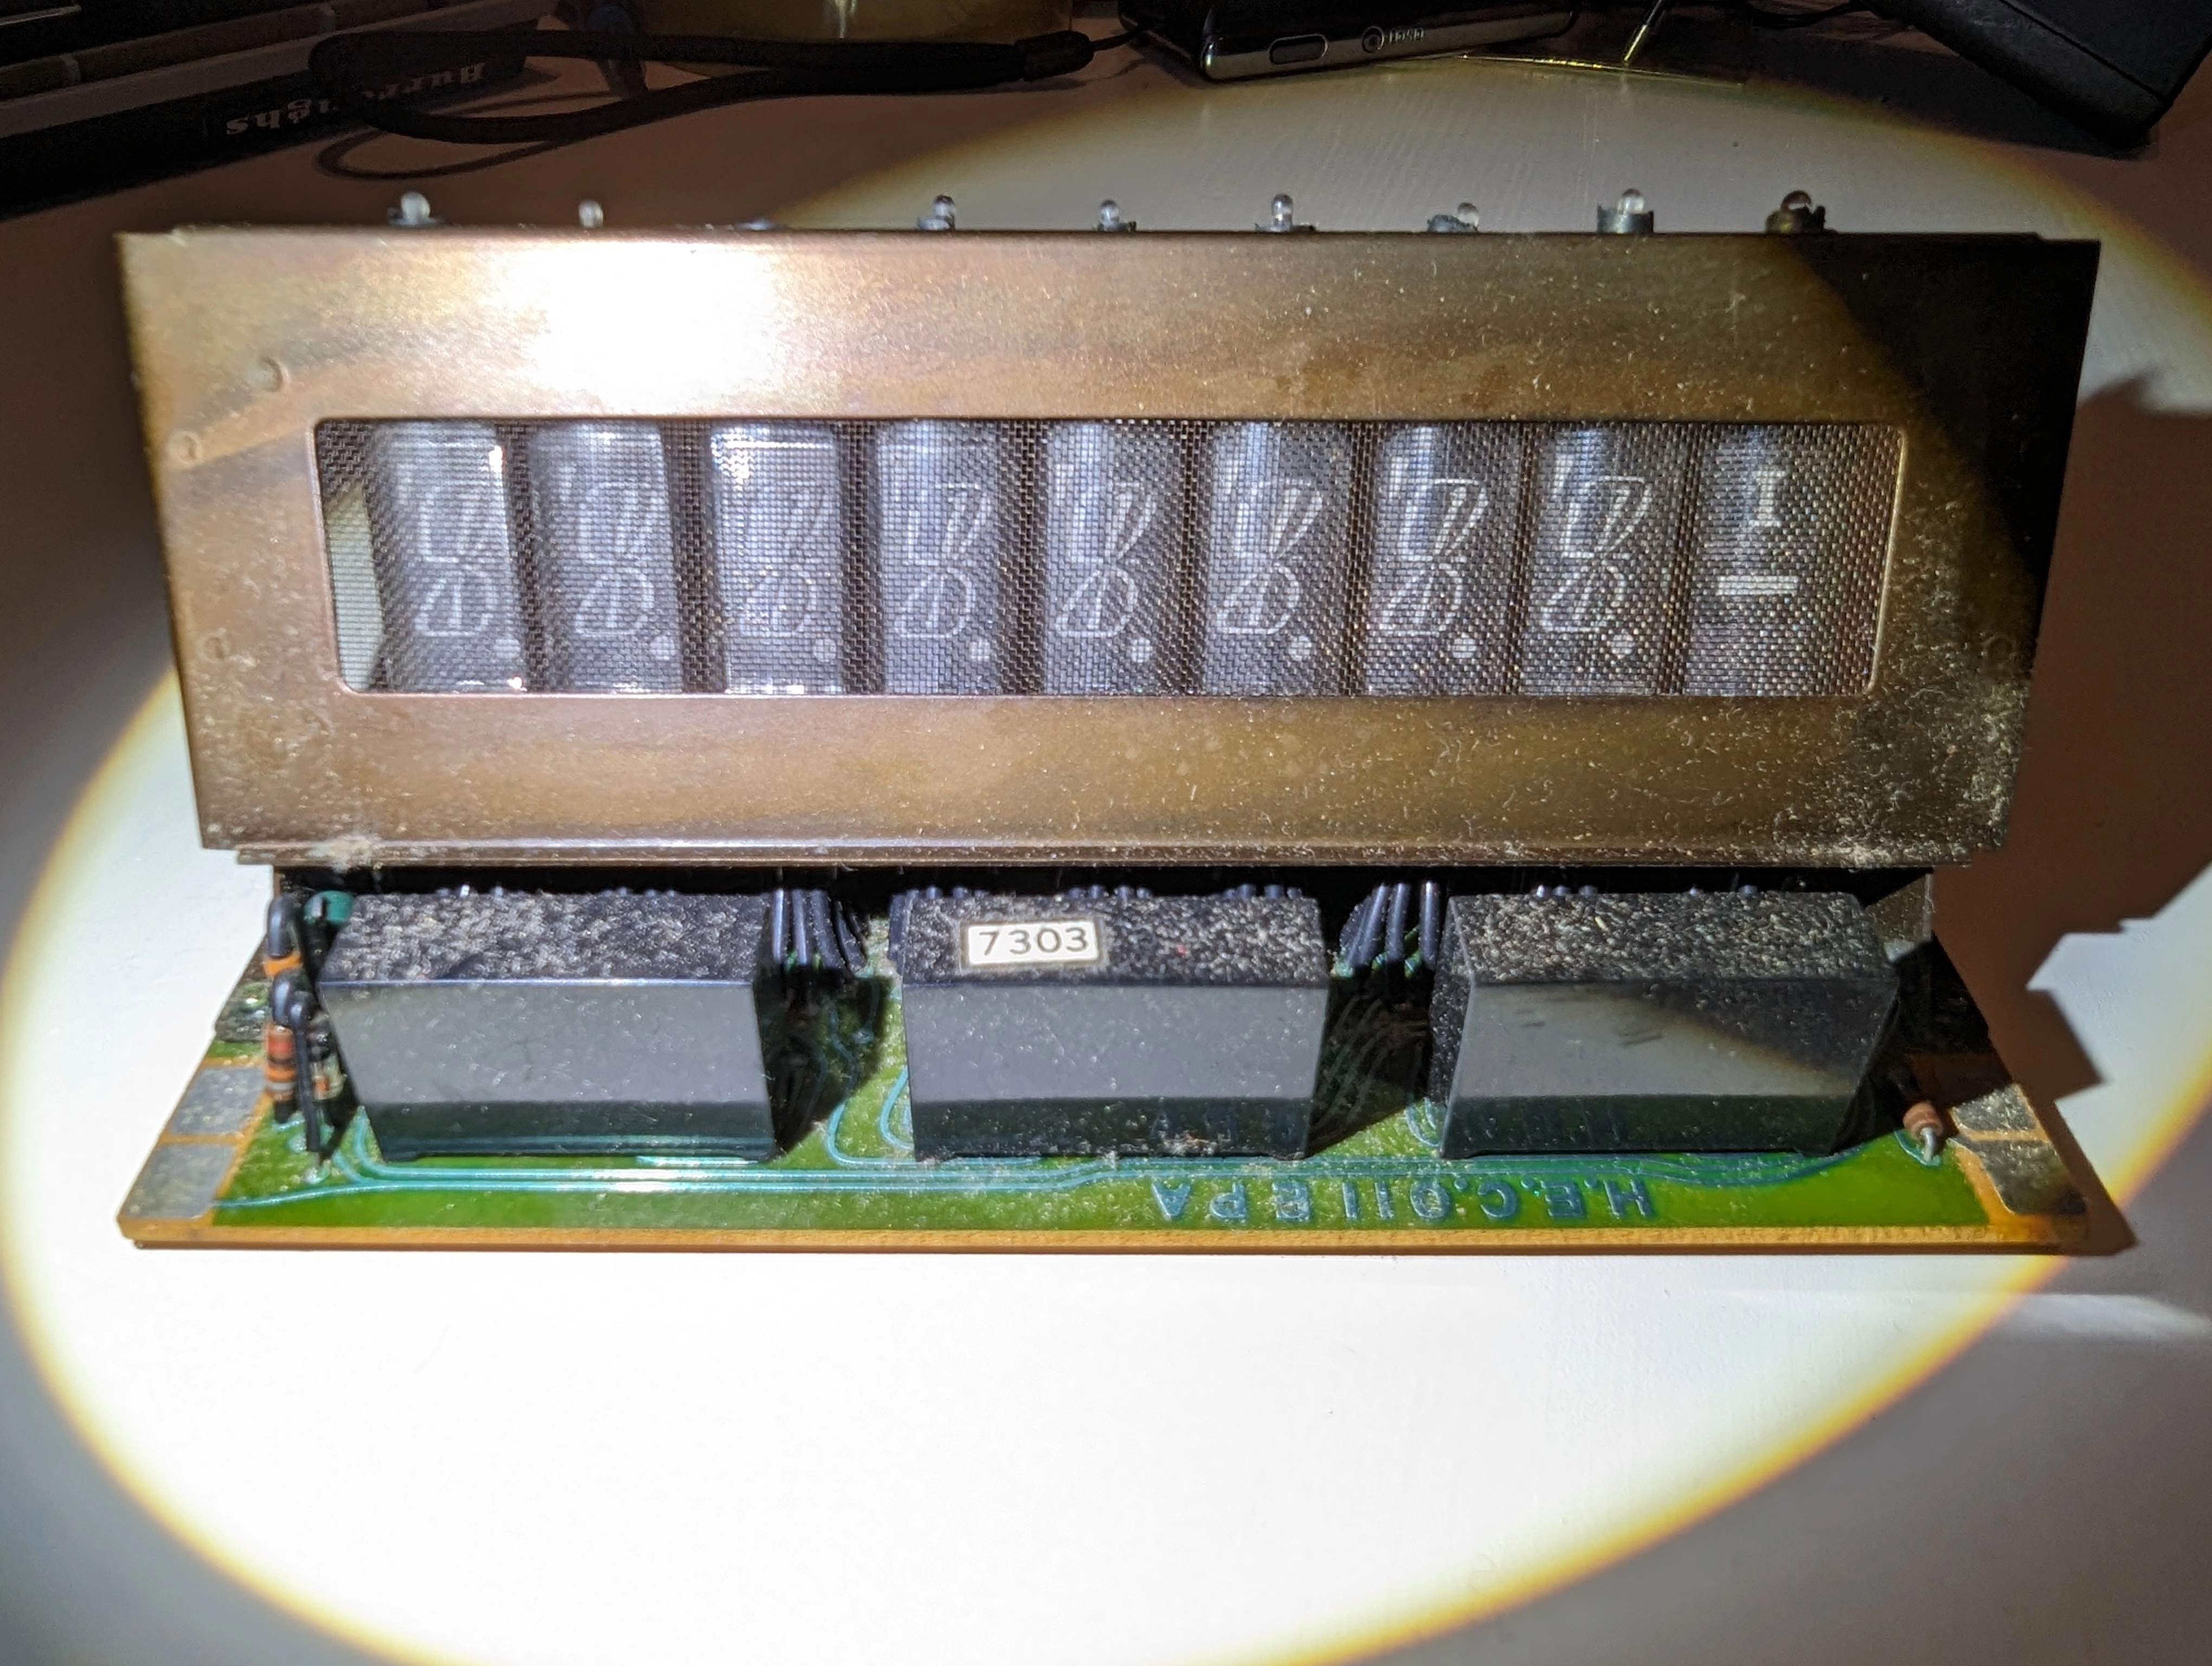
From the back:
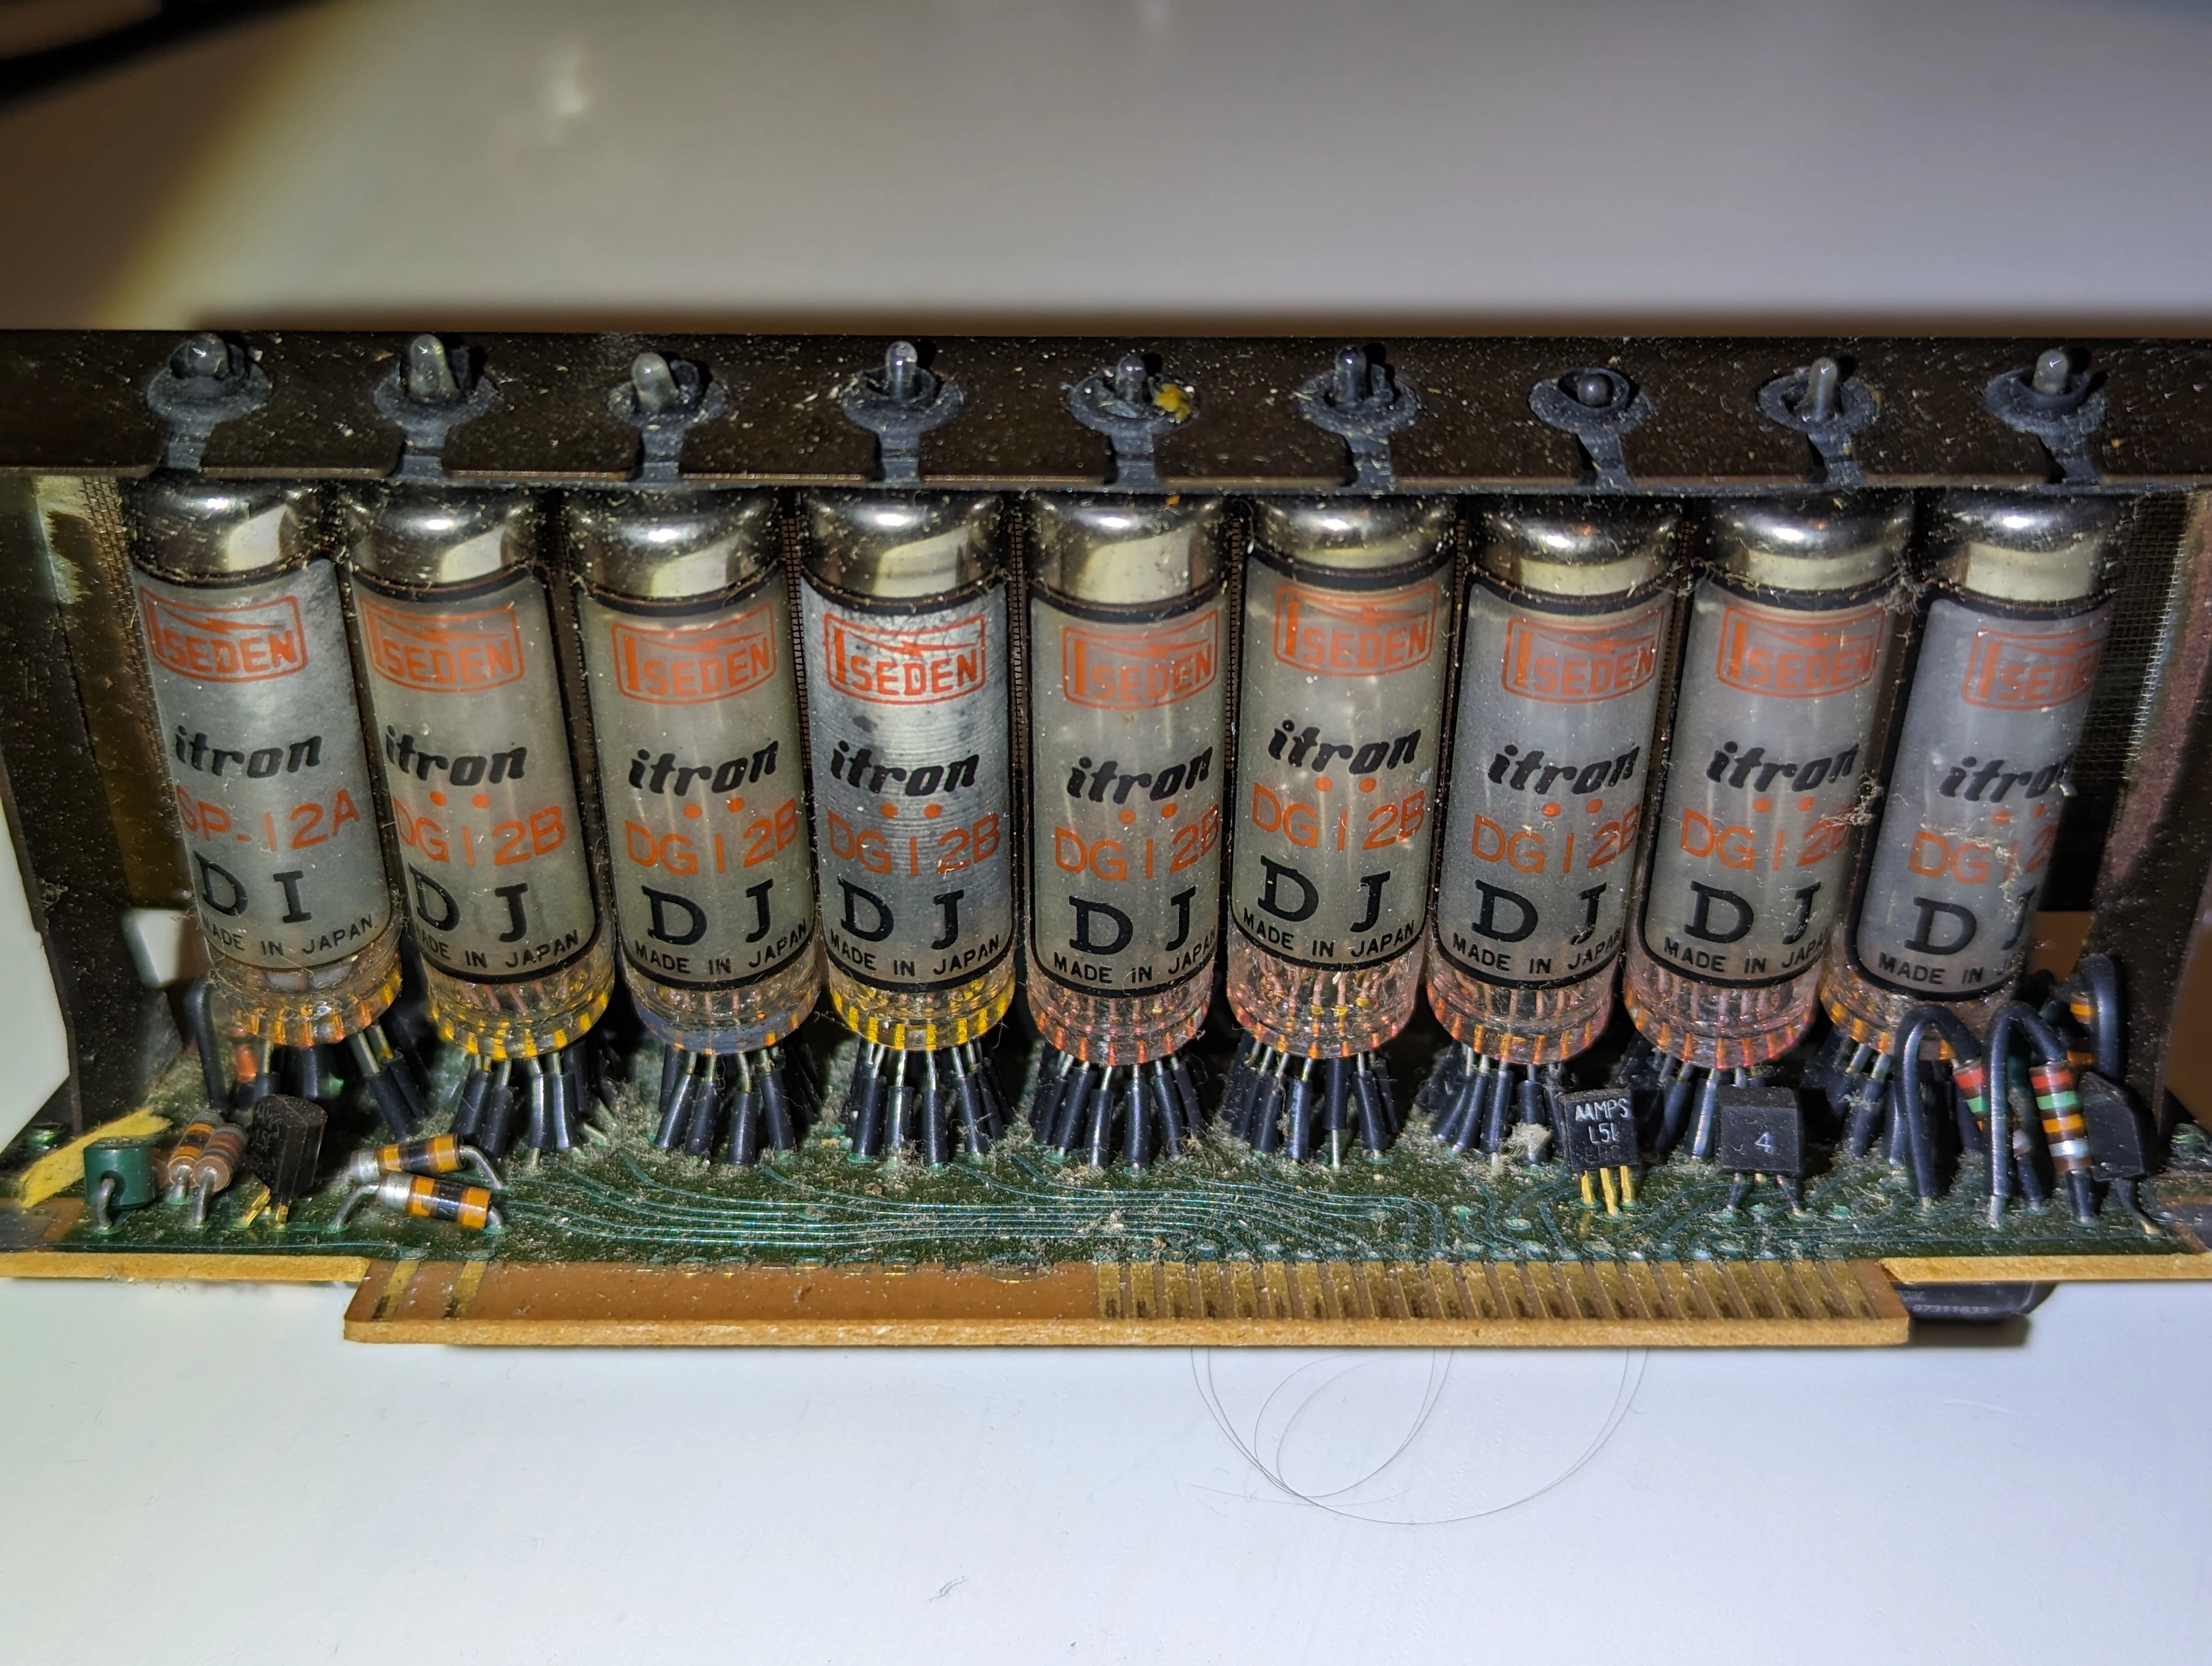
A close-up on the tubes themselves:
If funky old display tech is your thing, these videos are for you:
- VFD Displays by Posy
- The Art of Making a Nixie Tube by Dalibor Farný
- These digital clocks aren’t digital at all by Technology Connections
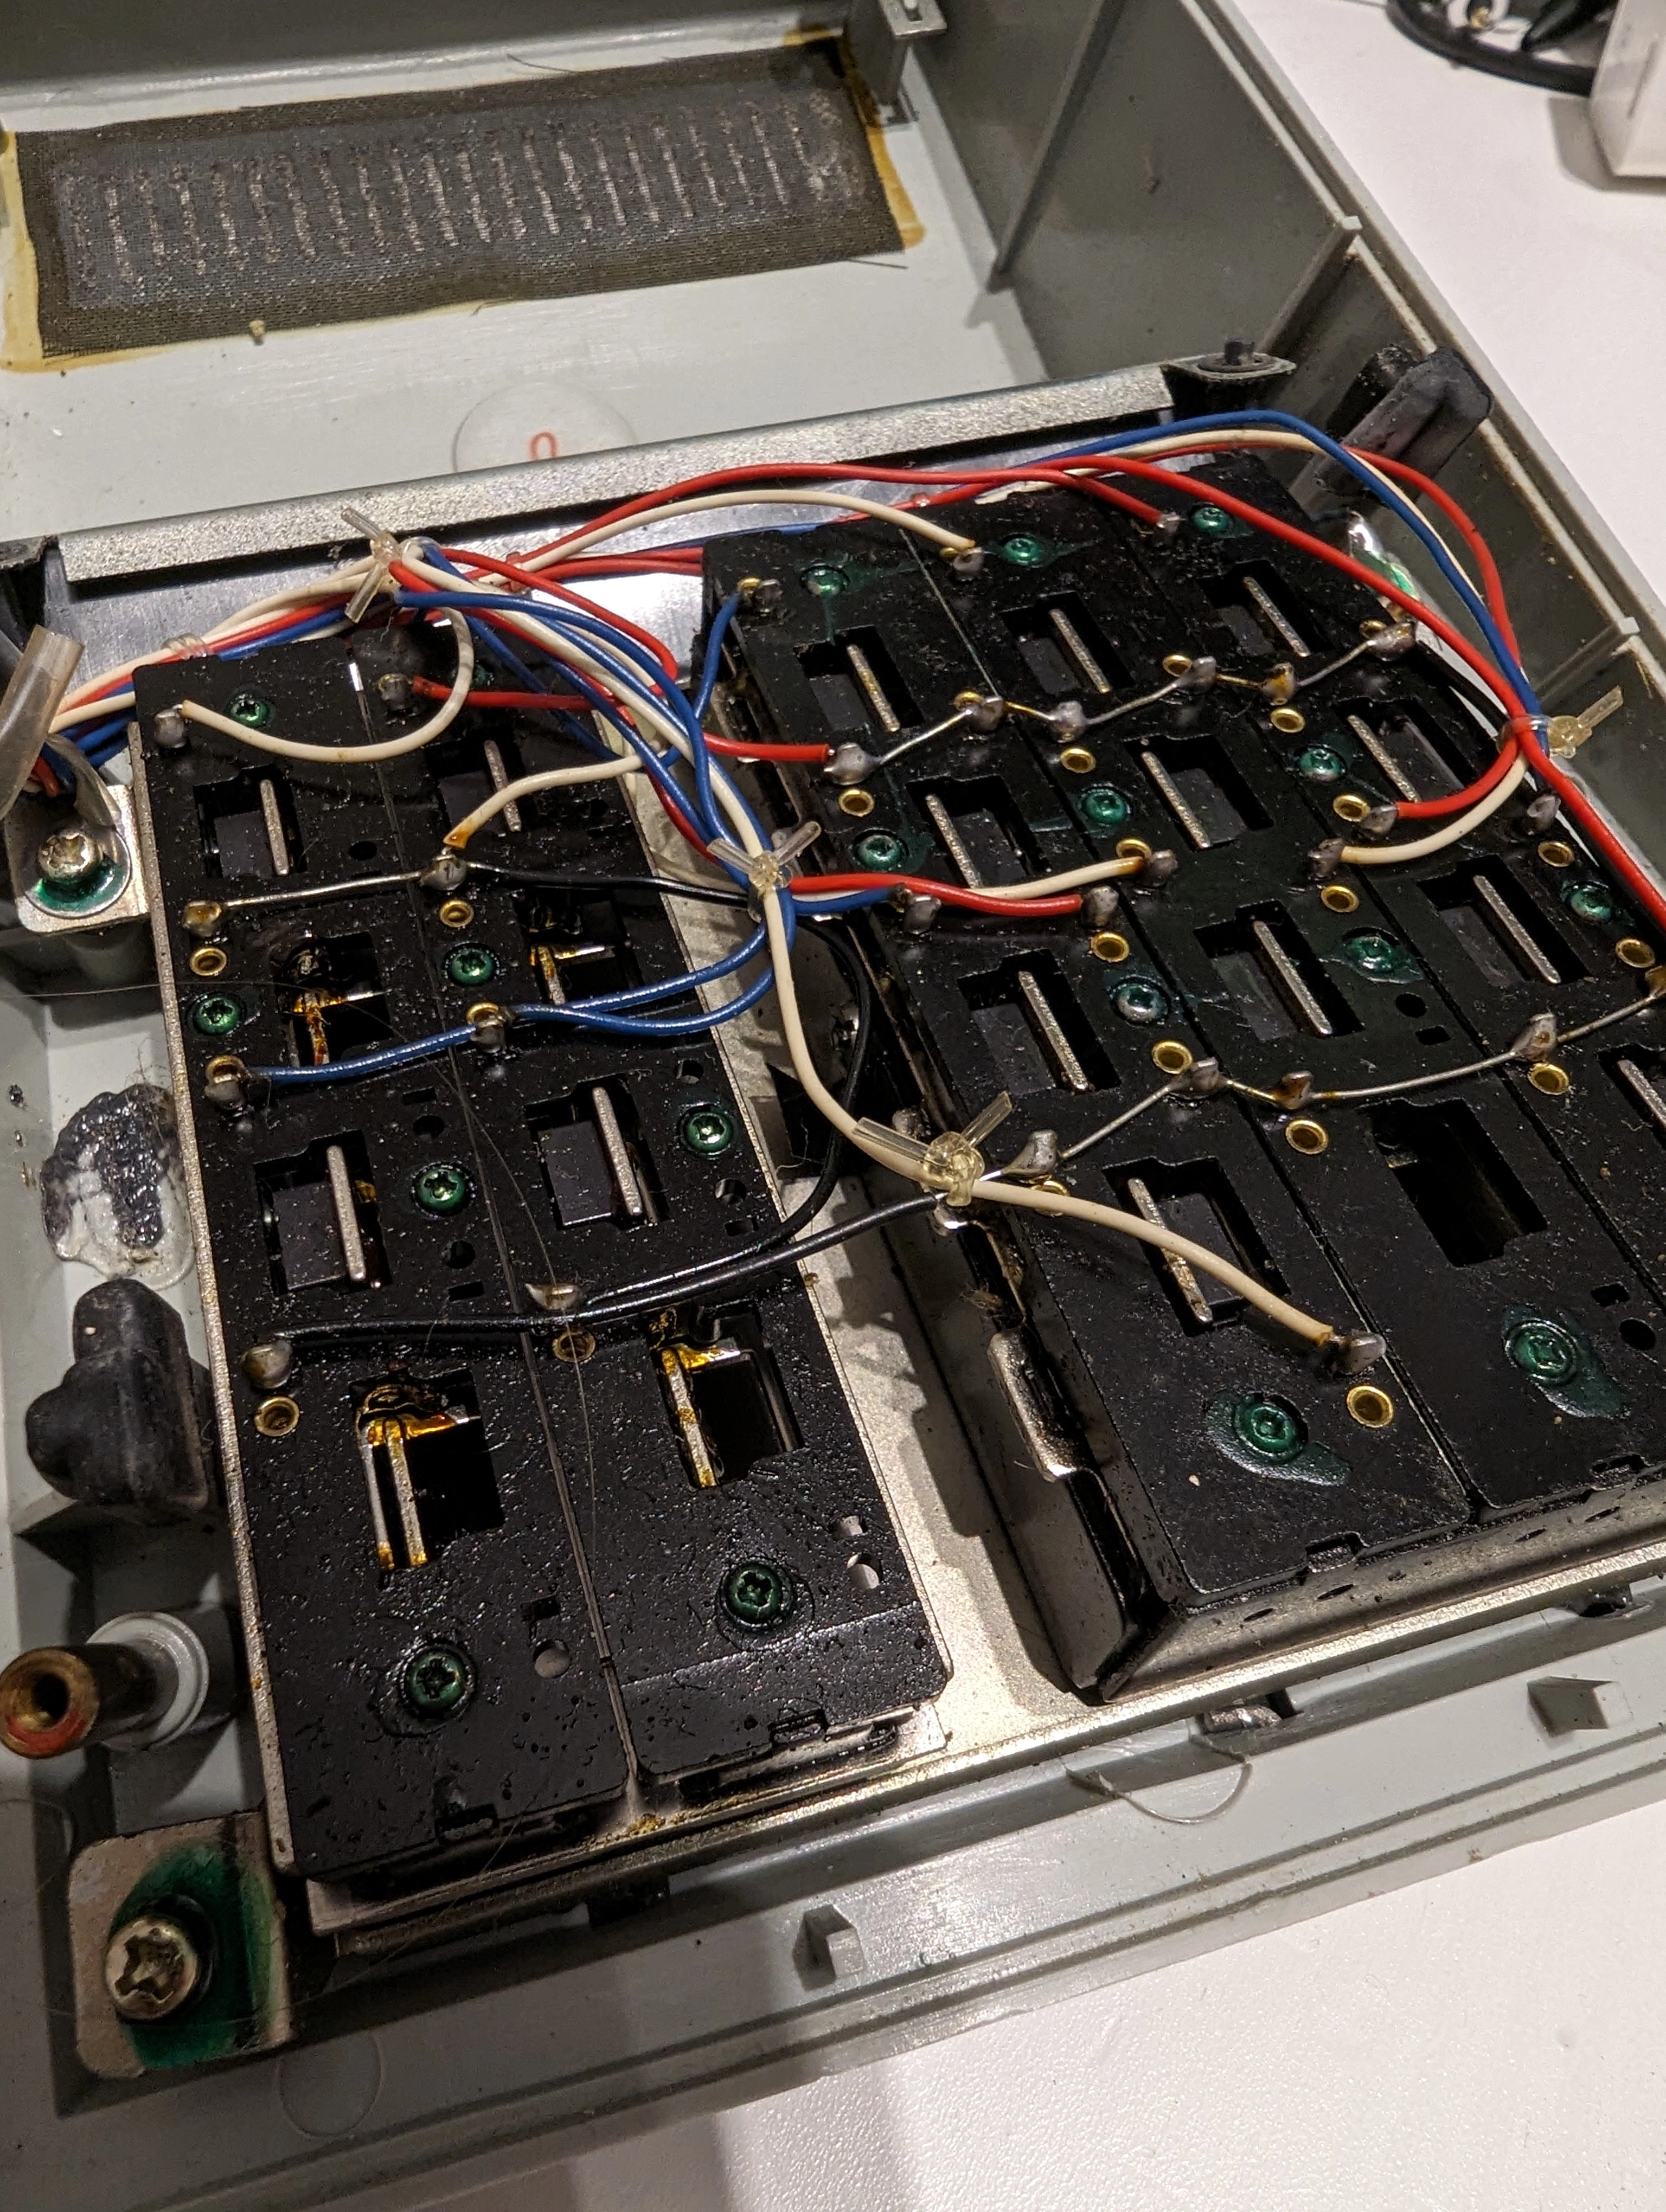
Keyboard
Not much to say about the keyboard, it’s a simple matrix of switches:
Behavior and Simulator
You’ll notice the function buttons are a bit… unusual. Basically, here’s how to use the calculator:
- Enter the first operand using the keypad
- Choose an operation (using −, +, or ÷ ×)
- Enter the second operand
- If you wanted to add, subtract, or multiply, press =, otherwise (if you wanted to divide), press the ≑ key (that’s the key that also has −)
Once an operation has been evaluated, the calculator waits for another input. If you don’t choose an operation, it defaults on addition/subtraction. In other words, 1 + 2 = 3 = will perform 1+2 and then perform +3 on the result. 5 − 2 = 3 = will perform 5-2 and then perform -3 on the result.
The calculator doesn’t handle negative numbers; it behaves as if the absolute value was taken after each computation. The only thing resembling negation is the subtraction mode, which is enabled using the − key.
Also, there’s an indicator right above the minus sign in the shape of an uppercase “I” that I haven’t managed to figure out the meaning of, or even to trigger. My first guess was “I” for “Infinite”, but there’s no operation on this basic calculator that could ever give something infinite-like (division by zero is properly handled and triggers an error state, and using numbers that are too large also triggers an error state). If you have any insight on this, please let me know!
Reverse engineering the calculator’s internal logic was… interesting, to say the least.
If the calculator stops responding (with a screen full of zeroes and dots) it means you’re in the “invalid” state
You can try the calculator with this simulator I made.
Disclaimer: I tried my best to reproduce as faithfully as possible the behavior of the calculator, but I can’t guarantee that it’s 100% accurate. For example, I know there are weird things happening when you get a result that doesn’t fit in the calculator’s internal precision, and I haven’t been able to reproduce all of them. This is the only bug I could find, however, so other “weird” behaviors should be those of the real calculator (which is admittedly quite peculiar to use).
Thanks to @mwichary for recreating the Sharp EL-8 font in OTF format!